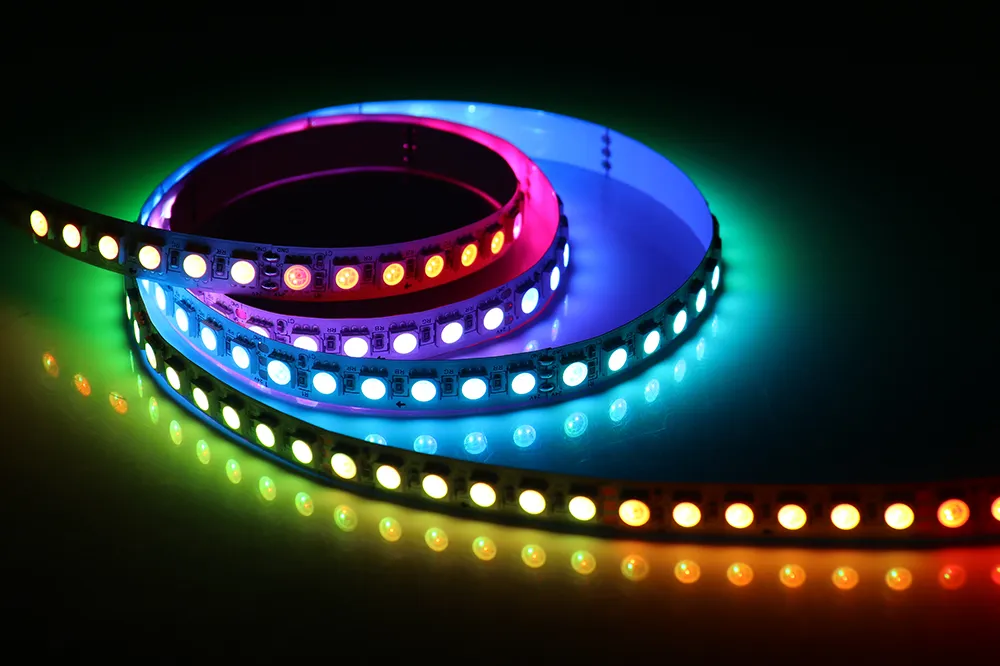


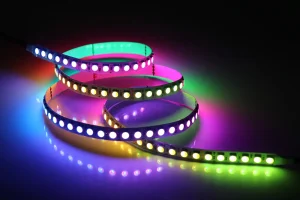
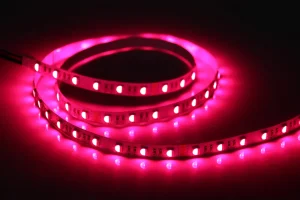

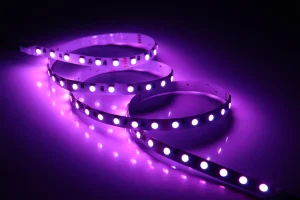
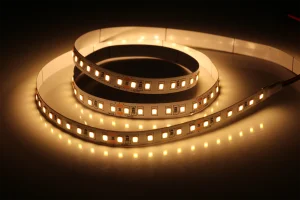

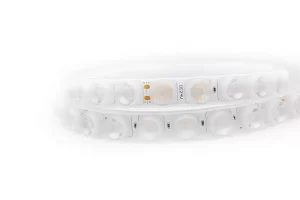


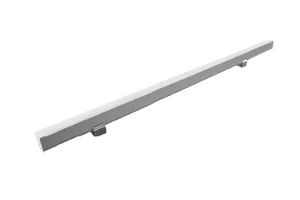


The installation method of the light strip significantly affects its performance, lifespan, and overall appearance. Whether you’re using light strips for decorative purposes or functional lighting, proper installation ensures optimal results and prevents common issues like overheating or flickering.
In this article, we will walk you through the detailed steps for installing LED light strips, from determining the required length to connecting the power source and controller. Additionally, we’ll highlight essential precautions to help you avoid potential problems during and after installation.

1. Determining the Length of the Light Strip
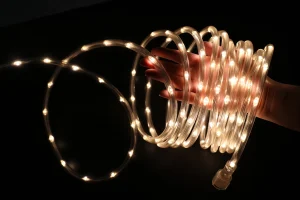
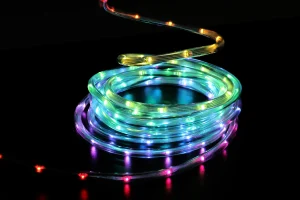
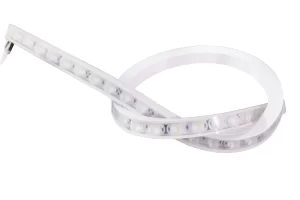
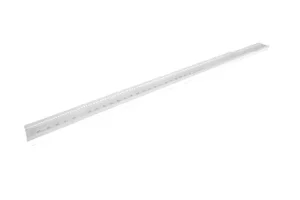
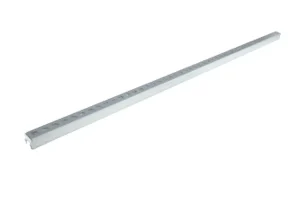
The first step in installing a light strip is determining its required length. Light strips come in various sizes, ranging from short sections of 1–2 meters to rolls of tens of meters. Here’s how to handle the length efficiently:
1-1: Measure and Cut the Light Strip
- Measure the total length of the area where the light strip will be installed, such as the perimeter of a ceiling cove or under-cabinet sections.
- Most light strips have predefined cutting points, usually spaced 1 meter apart. Always cut the strip at these marked points to avoid damaging the circuit and ensure the LEDs function correctly.
- Tip: Cutting at random points may cause sections of the strip to fail, leaving some LEDs unlit. Check for cutting marks before proceeding.

1-2: Fixing the Light Strip
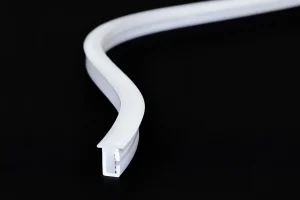
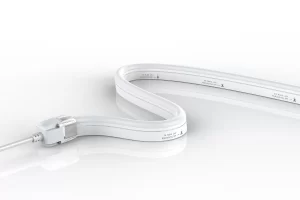
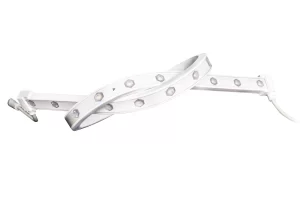
- For indoor installations where waterproofing is unnecessary, light strips often come with a self-adhesive backing. Simply peel off the protective layer and press the strip into place, such as along the grooves of a ceiling cove.
- If additional stability is needed, especially in curved sections, use double-sided tape or mounting clips to secure the strip and prevent it from shifting over time.
- Note: Ensure the surface is clean and dry before sticking the strip to ensure strong adhesion.
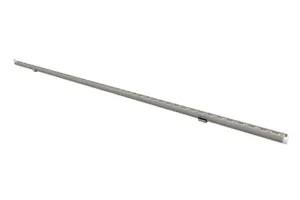
2. Connecting the Light Strip
Once the strip is fixed in place, the next step is connecting the light strip segments and securing their power connections.
2-1: Joining Strip Segments
- LED light strips are typically composed of 3 LEDs per circuit segment, connected in series or parallel. Ensure proper alignment when joining segments to maintain uniform brightness.
- For segments with connectors, simply snap them together. However, for sections requiring cutting, use soldering for a secure connection and avoid loose ends.
- Pro Tip: Minimize the number of connections to prevent voltage drops, which can result in uneven lighting or flickering.
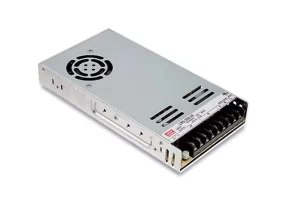
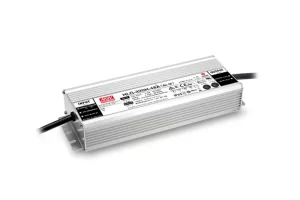
2-2: Power Supply Connection
- Most LED light strips operate at 12V or 24V, requiring a compatible power adapter. Choose a power supply based on the strip’s total wattage and length.
- For larger installations, consider a centralized power supply to control multiple strips via a single circuit. This approach simplifies the wiring process and offers centralized control.
- Tip: Ensure all connections are properly insulated to avoid short circuits.

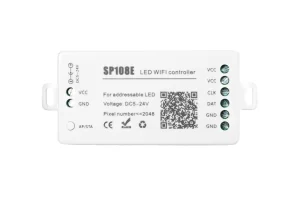
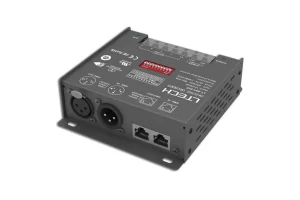
3. Adding a Controller
LED light strips often include controllers to manage brightness, color changes, and dynamic effects. Proper selection and installation of the controller are crucial for ensuring smooth operation.
3-1: Controller Compatibility
- Controllers come in different types, ranging from simple wired units with fixed settings to advanced wireless remote-controlled options.
- The control distance varies: basic controllers typically support 10–15 meters, while advanced remote systems may extend to 30 meters.
- Recommendation: For strips exceeding 15 meters, use a signal amplifier to maintain consistent performance across the entire length.
3-2: Choosing the Right Controller
- For home installations, a basic controller paired with light strips of 10–15 meters is sufficient. For longer installations or more complex effects, invest in a high-quality controller with customization features.
- Pro Tip: Always pair your light strip with a controller designed for its specific voltage and wattage to avoid compatibility issues.
4. Precautions and Maintenance Tips
Proper installation is critical for the long-term performance of your light strips. Below are some key precautions to follow:
4-1: Prevent Overheating
- Overheating can cause LEDs to fail prematurely and may even damage surrounding materials, such as ceilings. To prevent this:
- Ensure the strip has adequate ventilation.
- Avoid exceeding the maximum connection length for your light strip type (e.g., 20 meters for 3528 strips, 15 meters for 5050 strips).
4-2: Use Appropriate Connectors
- Each light strip should have a dedicated connector with a built-in transformer. When connecting, remove the plastic cover to access the terminals securely, then reattach the cover to prevent short circuits.
- Warning: Never connect strips directly without a transformer, as this can cause electrical failures.

4-3: Follow Cutting Guidelines
- Always cut along the marked points to maintain circuit integrity. Misaligned cuts can render entire sections nonfunctional, reducing the strip’s effectiveness.
4-4: Regular Inspections
- Periodically inspect your light strips for signs of wear, loose connections, or overheating. Address issues promptly to extend the lifespan of your installation.

5. Common Problems and Solutions
Problem 1: Flickering Lights
- Cause: Loose connections or insufficient power supply.
- Solution: Check all connections and ensure the power supply matches the total wattage of the strip.
Problem 2: Uneven Brightness
- Cause: Voltage drops in longer installations.
- Solution: Use a signal amplifier for strips exceeding 10–15 meters.
Problem 3: Overheating
- Cause: Overloaded power supply or poor ventilation.
- Solution: Reduce the length of connected strips or upgrade to a more powerful adapter.
6. Conclusion
Installing LED light strips may seem straightforward, but attention to detail is essential for a professional and lasting setup. From determining the correct length to connecting the power supply and controller, each step plays a vital role in the performance and safety of the lighting system.
By following the detailed steps and precautions outlined in this guide, you can ensure that your light strip installation is not only visually appealing but also efficient and durable. For high-quality light strips and installation accessories, trust Wilgex to provide reliable and innovative solutions tailored to your needs.