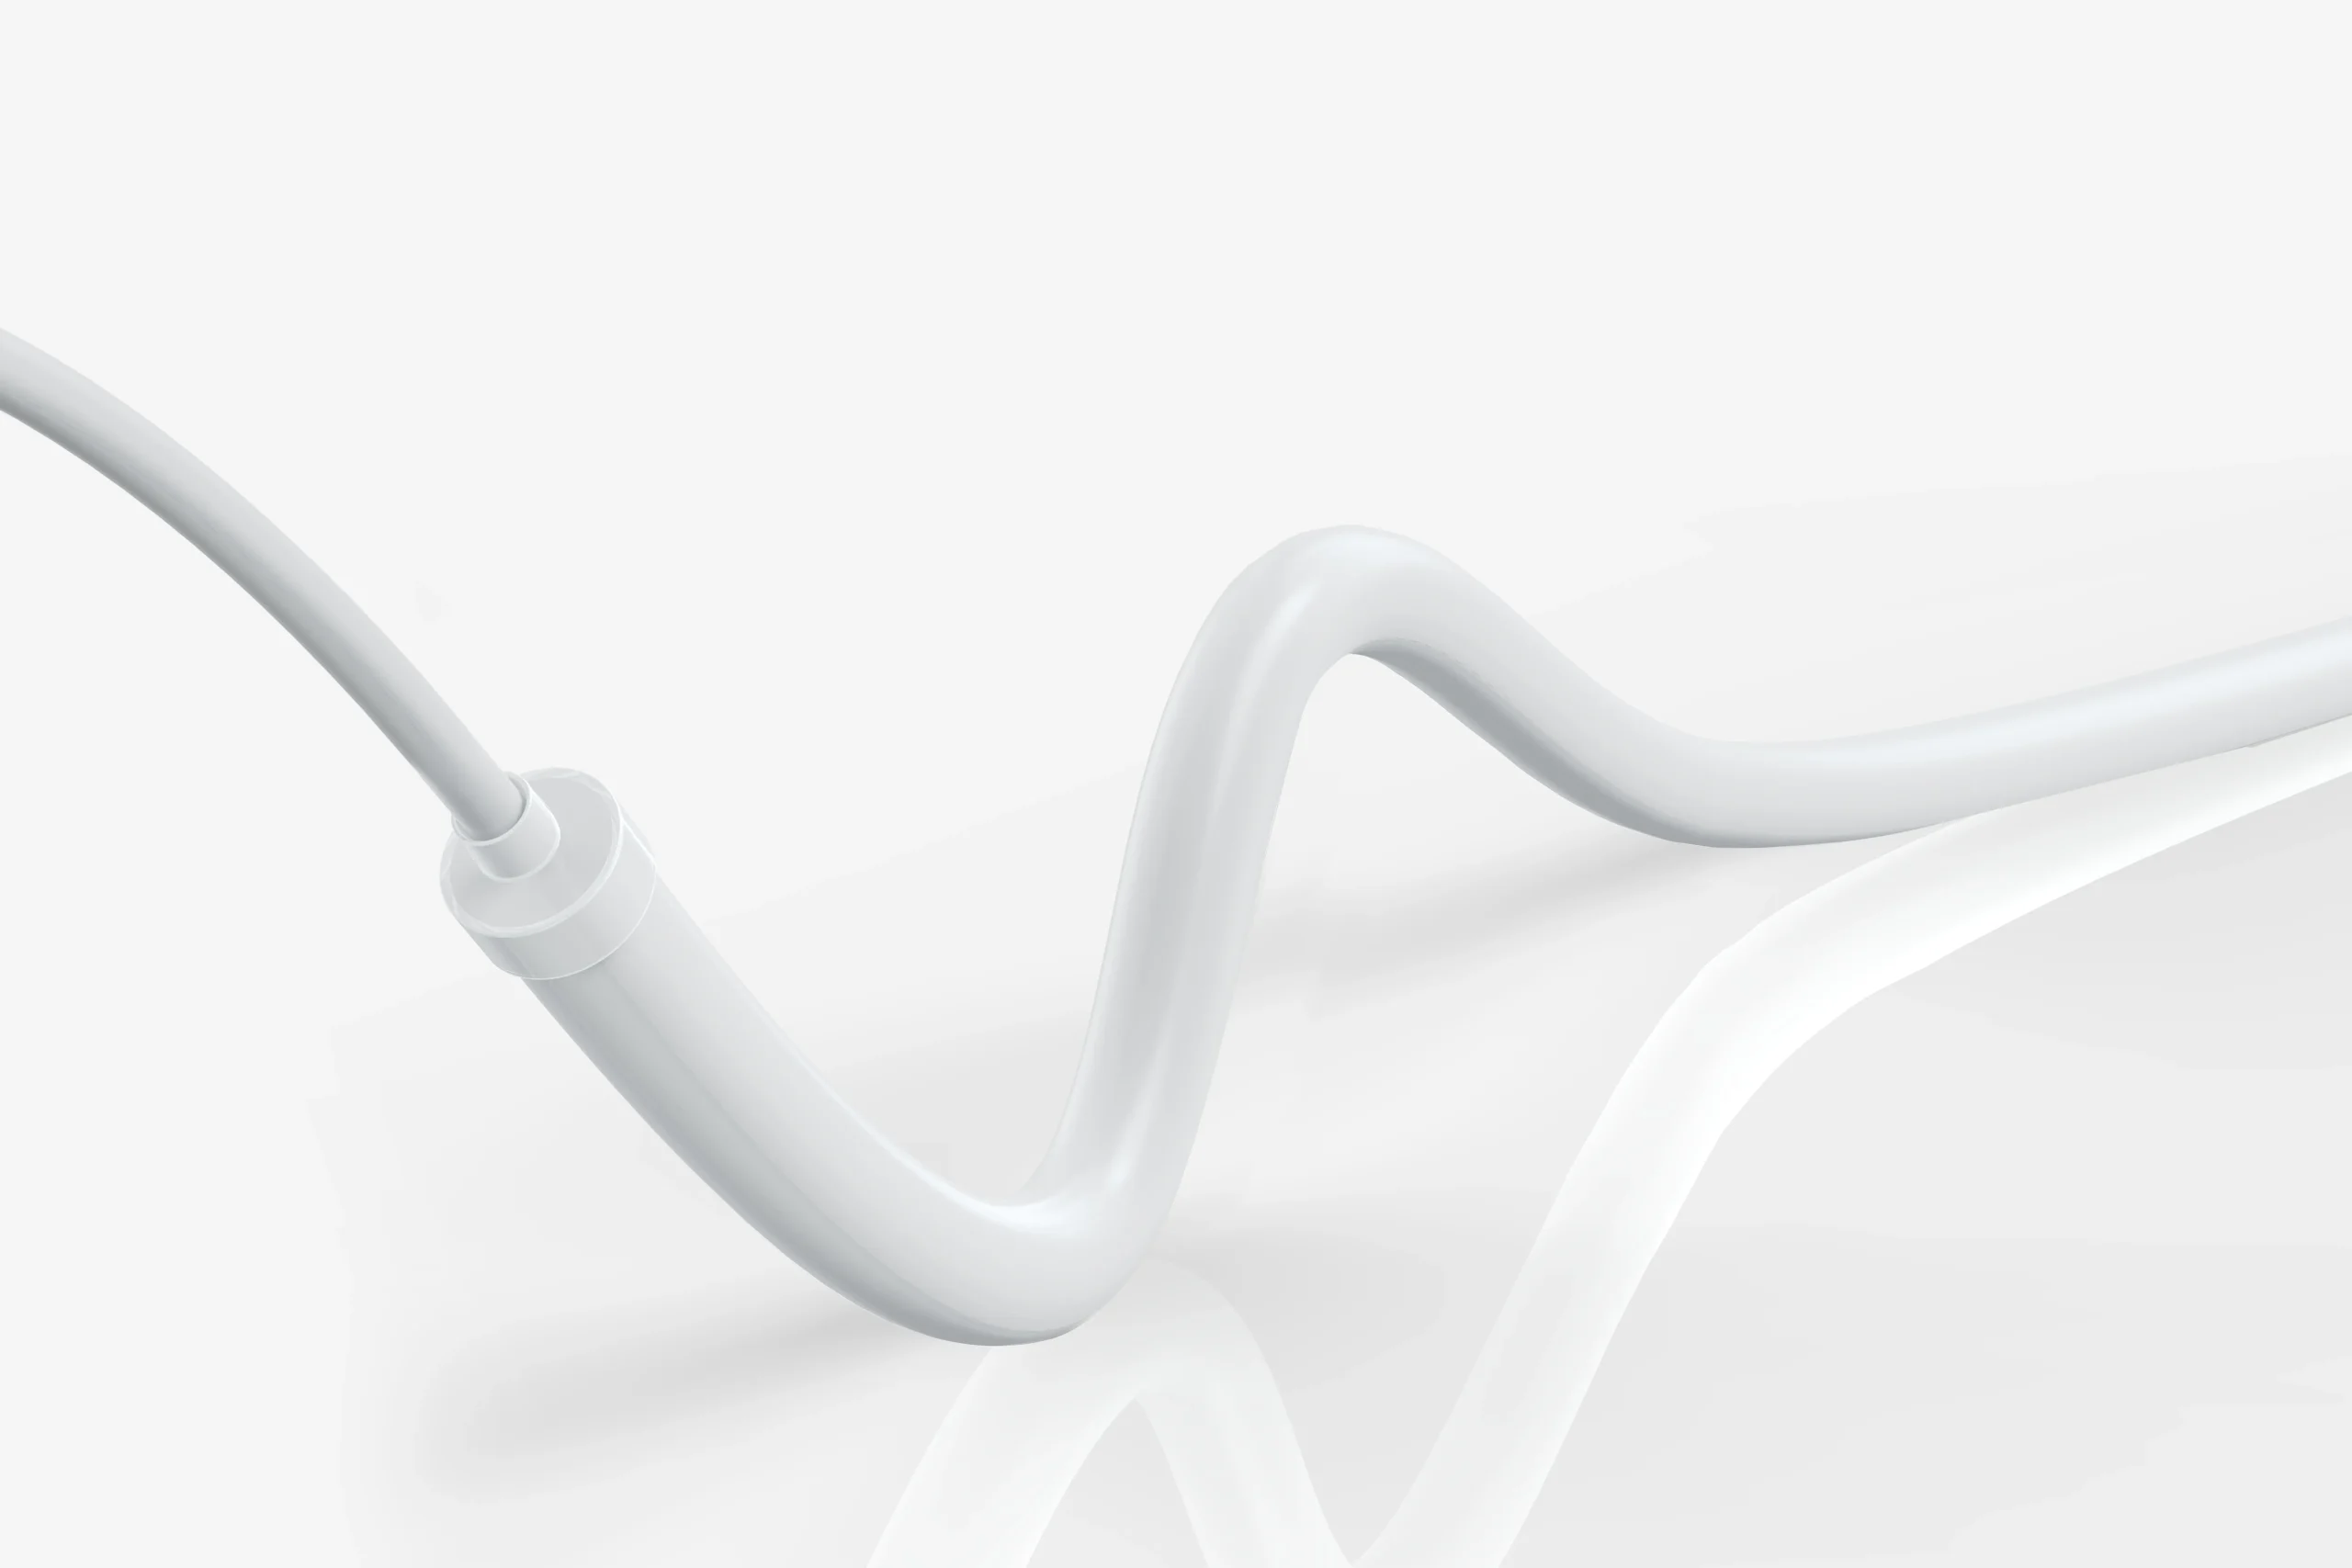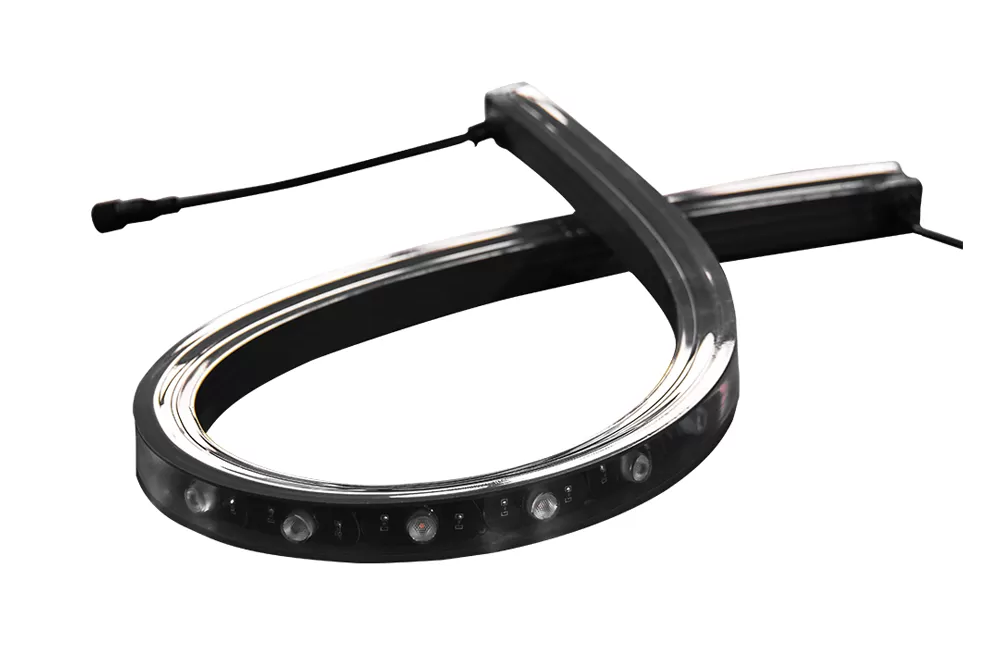
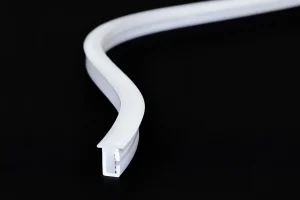
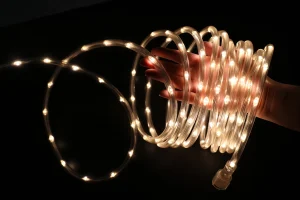
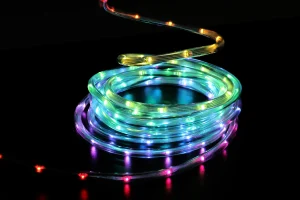


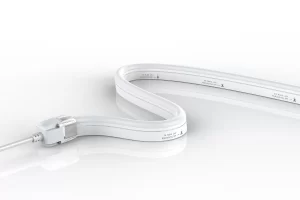
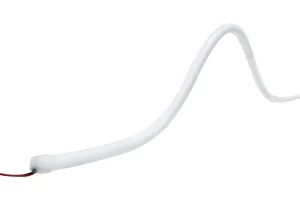

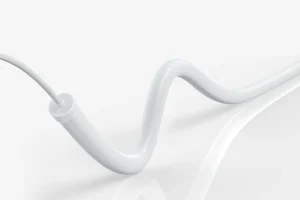
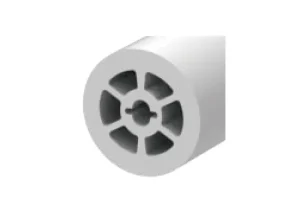
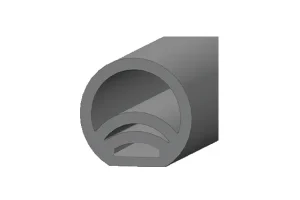
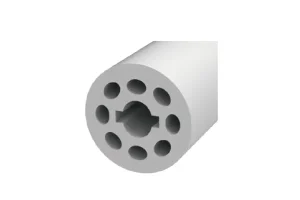
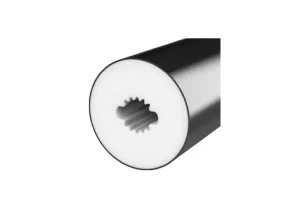
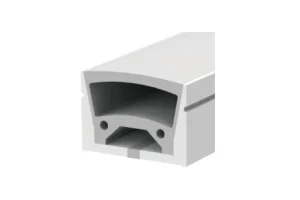
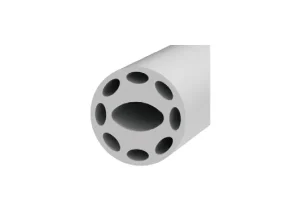
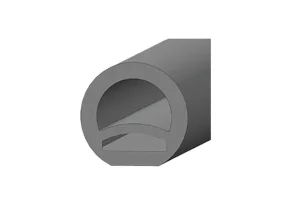
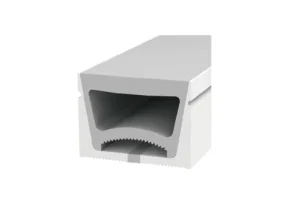
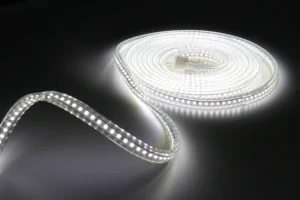


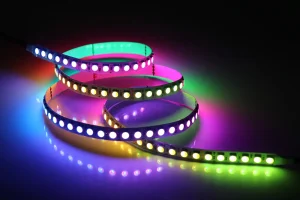
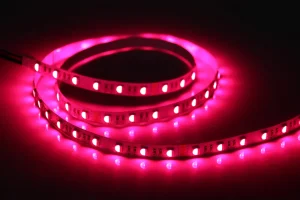
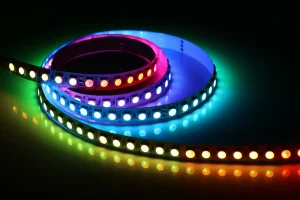
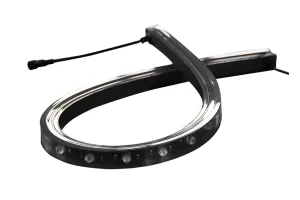
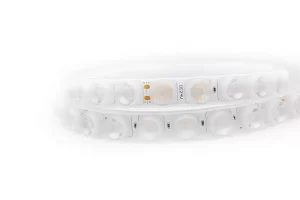
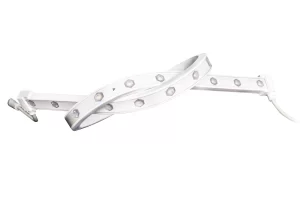

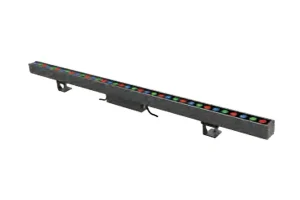


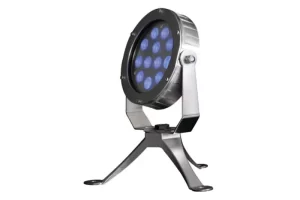
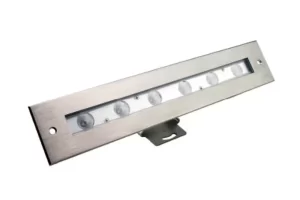
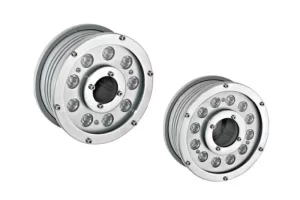


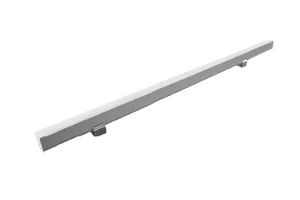
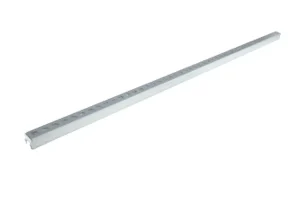
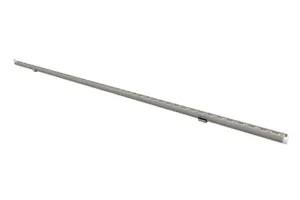


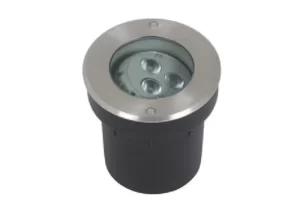


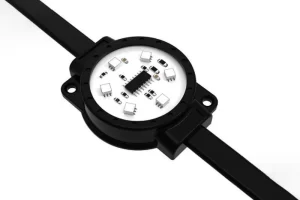


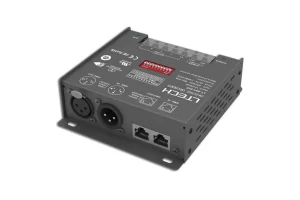


Flexible LED DMX512 neon strips are a top choice for creative lighting projects due to their rich color rendering, dynamic effects, and bendable nature. However, their installation and commissioning are more complex than standard LED strips, often leading to issues like signal loss, flickering, or color inconsistency if not handled correctly.
This comprehensive guide provides a step-by-step walkthrough of the entire process—from preparation to final testing—to help you avoid common pitfalls and ensure a successful, stable installation.
Phase 1: Pre-Installation Preparation: Laying the Groundwork

-
Thorough Technical Briefing:
-
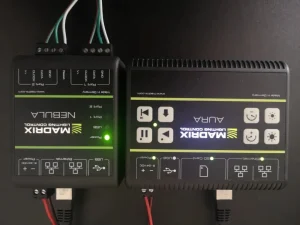
Fully understand the lighting layout drawings and effect animations. Clarify the zoning of the strips, controller locations, and power supply points. Having a clear “map” in mind is crucial for a smooth installation.
-
-
Crucial Material Inspection:
-
Strip Inspection: Verify the model, specifications, and length. Power up a small, cut section on-site to check for dead pixels or color deviation. This proactive step identifies quality issues early, preventing rework.
-
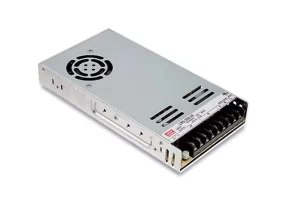
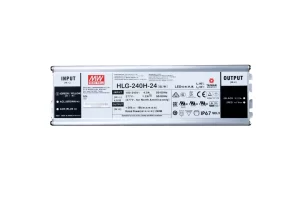
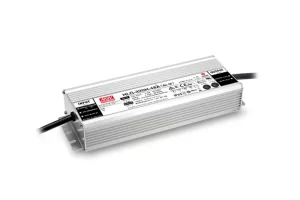
Power Calculation: Total PSU Wattage > Total Strip Wattage × 1.5. It’s always better to have excess capacity than to run at the limit; this ensures long-term stability.
-
Accessories Check: Ensure all components are present—mounting clips, end caps, waterproofing sealant, and signal cables.
Phase 2: Installation: Precision is Key
-
Surface Preparation:
-
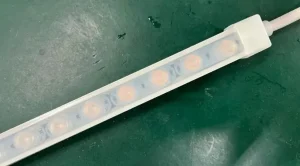
Clean the mounting surface thoroughly with isopropyl alcohol and let it dry completely before peeling off the adhesive backing.
-
We strongly recommend using dedicated mounting clips for secondary fixation. Relying solely on adhesive, especially for outdoor or ceiling projects, will lead to failure over time.
-
-
Bending and Cutting:
-
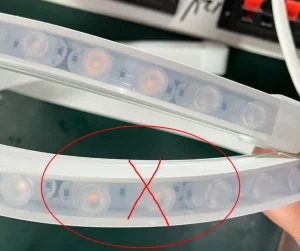
Bendable, Not Twistable: Horizontal bending is allowed, but vertical twisting or sharp-angle folding is strictly prohibited. The minimum bending radius should be ≥ 5cm (≈2 inches).
-
Cut at Designated Points: Cuts must be made only at the marked “scissors” ✂️ symbol. Cutting anywhere else will destroy that entire section.
Phase 3: Wiring & Networking: The Core of Signal Integrity
-
Power Injection Principle: Multi-Point & Localized!
-
For long-distance runs, avoid feeding power from only one end! Inject power from the main source every 10-15 meters. Otherwise, the strips at the far end will dim due to voltage drop.
-
-
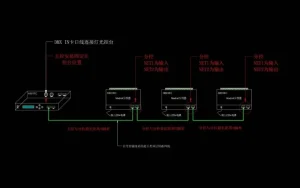
Signal Cable: Use Dedicated Shielded DMX Twisted Pair Cable!
-
Do not use standard Ethernet cable! You must use properly shielded twisted-pair cable for its superior noise immunity.
-
Keep DMX signal cables at least 30cm (≈12 inches) away from 240V AC power lines to prevent interference.
-
-
DMX System Core Configuration:
-
Address Setting: Each strip section must have a unique starting address. Set this via the DIP switches using the formula:
Starting Address = (N-1) * Number of Channels + 1. -
Terminating Resistor: The Guardian of Signal Stability!
-
A 120Ω terminating resistor must be connected across the Data+ and Data- lines on the DMX OUT port of the last device in the DMX chain. This is a critical step to eliminate signal reflection, ghosting, and flickering.
-
Phase 4: Commissioning & Final Approval: The Moment of Truth
-
Safety First: Power Up in Sections:
-
First, power up the controller and PSUs with the load (strips) disconnected. Then, connect and power the strips section by section for testing. This makes problem identification fast and easy.
-
-
Software Configuration:
-
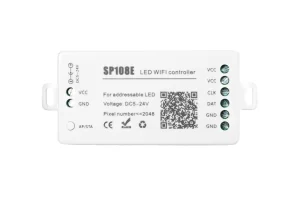
Correctly configure the control software: set the appropriate Universe, output port, channel mode (e.g., RGB or RGBW), and match the corresponding starting addresses.
-
-
Final Effect Verification:
-
Run solid white, red, green, and blue tests to check for color consistency across all sections.
-
Execute dynamic scenes (like chases and gradients) to verify perfect synchronization without lag or stuttering.
-
Compare the final result item-by-item with the original design animation to complete the project sign-off.
-
Phase 5: Summary & Key Takeaways
To summarize, here are the Four Golden Rules for a successful DMX512 Neon Strip installation:
-
Robust Power: Ample capacity with multi-point injection.
-
Clean Signal: Use shielded cable and never forget the terminator.
-
Accurate Addressing: Ensure every fixture has a unique ID.
-
Secure Mounting: Reinforce with clips and manage heat.
-
-
-
-