


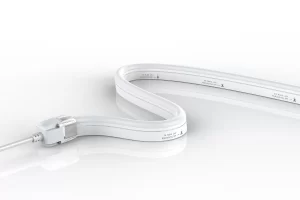
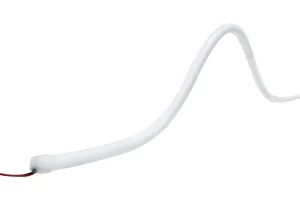

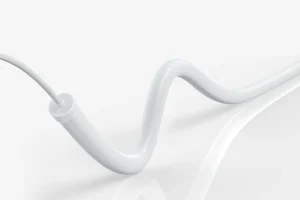
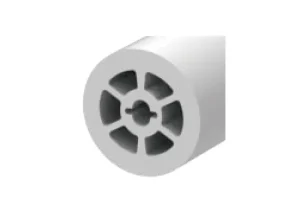


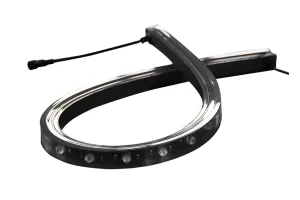
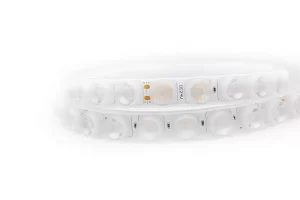
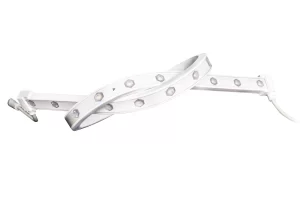
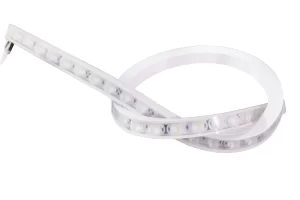
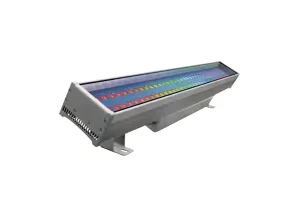
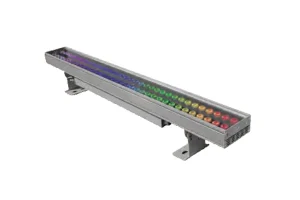
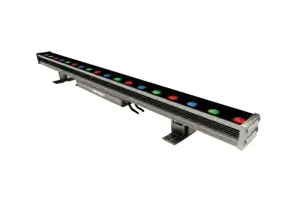
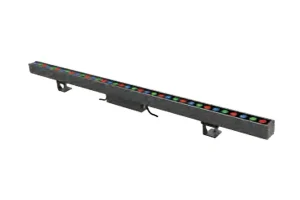




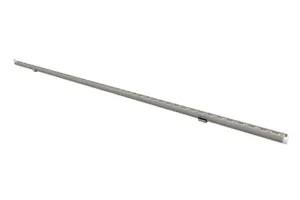


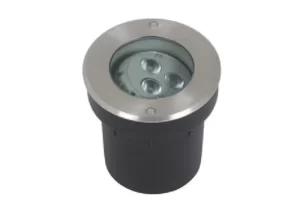


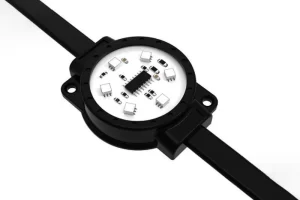




If you work in outdoor lighting, you’ve probably seen this movie before. The strip passes factory QC with no issues. It looks great the day it’s installed. Then, a month or two later, the complaints start: flickering, dead pixels, whole sections going dark. In hot, sun-drenched regions, the silicone can also turn yellow or cloudy. It’s one of those industry headaches that just won’t go away.
So what’s actually going wrong? Usually, it’s not one big flaw. It’s a chain of small ones—seals, power supplies, heat, wiring, materials. Let’s break it down.
The Real Reasons Outdoor LED strip failure
- Moisture Gets In—Just Not Where You’d Expect
Water is the enemy. But it rarely punches straight through the silicone body. Instead, it sneaks in through three weak points:
– End caps: If sealant is applied unevenly or too sparingly at the factory, thermal expansion and contraction will slowly widen tiny gaps. Moisture creeps in.
– Power cable entry points: Where the cord passes through the silicone housing, the seal takes a beating—movement, UV, temperature swings. Eventually it cracks.
– Connectors: Installers often swap outdoor-rated connectors for indoor quick-connectors. Those simply aren’t built for long-term waterproofing.
- IP67 Is Not a Lifetime Pass
Here’s a critical misconception: an IP rating does not guarantee long-term reliability. IP67 means the product survives 30 minutes of immersion under controlled lab conditions—no UV, no thermal cycling. It says nothing about years of real-world outdoor exposure.
A strip can pass IP67 and still leak within a year once the seals degrade. Once moisture gets inside, it corrodes the PCB copper traces and solder joints. That causes poor contact and flickering, which eventually leads to complete LED failure.
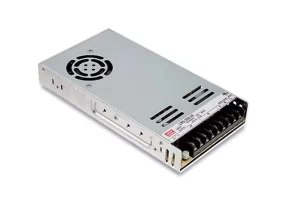
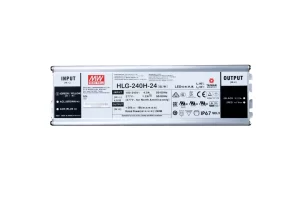
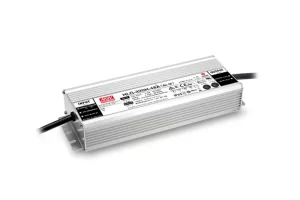
- The Power Supply Is Usually the First to Go
The driver is typically the first component to fail in an outdoor system. Capacitors and other electronics hate heat, humidity, and voltage swings.
Common symptoms:
– Multiple strips flickering, dimming, or shutting off at the same time—almost always a shared power supply issue, not LED damage.
– Automatic shutdown after running for a while, then recovery after cooling—thermal protection kicking in because the power supply is overheating.
– Random brightness fluctuations—unstable output voltage.
Outdoor power supplies bake in high temperatures, direct sunlight, and big day-night temperature swings. They age much faster than indoor units. And to cut costs, many projects choose power supplies with too little headroom. Running at full load for months accelerates capacitor aging.
- Heat Kills Quietly—and Silicone Is a Terrible Escape Route
Outdoor installations face a harsher thermal environment than indoor ones: direct sunlight, dark mounting surfaces, enclosed cable channels. All of that can push operating temperatures far above ambient air temperature.
Silicone has a thermal conductivity of only 0.27 W/m·K. Aluminum alloy? 237 W/m·K. That means heat struggles to escape.
Heat buildup leads to:
– Accelerated LED lumen depreciation
– Drivers and protective materials aging faster than the LED chips themselves
– Adhesive backings and silicone jackets degrading—losing adhesion and elasticity
– Intermittent shutdowns triggered by thermal protection
Bare LED strips installed without aluminum heat-dissipation channels can run 20–40°C hotter than those mounted inside aluminum channels. That can cut lifespan by more than half.
- Voltage Drop and Wiring Design Errors
Voltage drop is the most common electrical issue in long-distance outdoor installations. Resistance increases with distance, so the voltage at the end of the strip becomes insufficient.
The results:
– Dimming or uneven brightness at the far end
– Flickering at the end of the strip—caused by voltage dropping below the driver IC’s minimum operating voltage
– Color shifts along the length of the strip
Many projects run single-end power supply lines beyond the manufacturer’s recommended length, or they use cables with insufficient wire gauge. It may look fine at first. But once lumen depreciation kicks in, operating temperatures rise, and current fluctuates, visible flickering often shows up within one to two months.
- Corrosion: The Coastal and Pool Problem
In coastal areas, high-humidity zones, or near swimming pools, salt and chlorine accelerate oxidation of copper traces and solder joints. Even with the same IP rating, LED strips in these environments can fail much faster.
Why Silicone Turns Yellow
Silicone yellowing is another common complaint—and it’s not just an aesthetic problem. Three factors drive it:
– UV degradation: Prolonged sun exposure breaks down the silicone’s molecular structure. It yellows, clouds, and becomes brittle. Silicone is more UV-resistant than PVC, but cheap silicone or poor additive formulations still fail.
– Insufficient material grade: Some manufacturers use low-purity silicone or introduce impurities to cut costs. UV resistance collapses.
– LED blue light and heat: High-color-temperature LEDs emit blue light. Combine that with high operating temperatures, and material aging and yellowing accelerate.
Once yellowing starts, the silicone’s protective abilities are already fading. It’s a warning sign of impending waterproofing failure—not just a cosmetic issue.
How to Prevent It: Control the Whole Chain, From Spec to Sign-Off
Material Selection: Quality Control at the Source
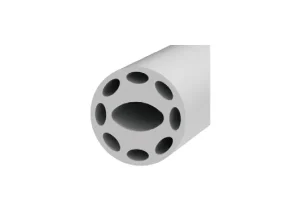
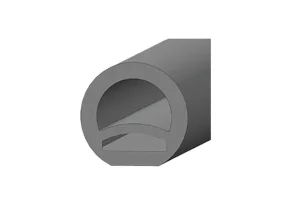
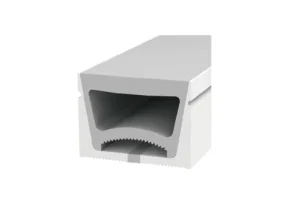
– Choose solid extruded or fully encapsulated silicone LED strips—not surface-coated or hollow-sleeve products. Full encapsulation blocks moisture and salt spray.
– Ask for UV aging test reports (QUV/ASTM G154) to verify yellowing resistance. For coastal projects, require ASTM B117 salt spray data.
– Make sure the power supply has at least 1.2 times the load capacity (1.5 times is better). Choose outdoor power supplies rated IP65 or higher.
– Request LM-80 reports to verify LED lumen depreciation. But don’t blindly trust advertised lifespans—LM-80 tests the chip, not the complete luminaire.
Installation: On-Site Control
Waterproof sealing (critical step):
– Apply a secondary bead of outdoor-grade silicone sealant to end caps and cable entry points—even if they’re factory-sealed.
– Use IP68-rated waterproof connectors. Do not substitute indoor quick-connectors.
– Install connectors where drainage is good. Avoid water pooling. Never place them at the lowest point of the strip.
– Apply waterproof sealant to connectors before covering with heat-shrink tubing. Double protection.
Heat dissipation management:
– Install outdoor LED strips inside aluminum profiles whenever possible. Let the aluminum channel do the heat dissipation work.
– Avoid mounting strips directly onto dark surfaces that absorb heat fast—asphalt, dark metal, etc.
– Leave ventilation gaps around enclosed cable channels. Don’t seal them completely.
Power distribution and wiring:
– For long-distance installations, use multi-point power injection—every 10–15 meters—to keep voltage drop at the end of the run within 5%.
– Use cables with adequate gauge. Refer to the manufacturer’s voltage drop calculation chart.
– For large-scale projects, distribute the load across multiple power supplies so no single unit is overloaded.
– After completion, measure the voltage at the end of the line. Verify it falls within specified limits before handover.
Acceptance and Warranty
– Conduct a spray test after installation (simulating heavy rain). Then perform a powered test 24 hours later.
– Run a 72-hour continuous burn-in test. Check for flickering or overheating.
– Secure an on-site warranty agreement with the manufacturer—not just a factory warranty. Clearly define liability for rework caused by installation issues.
– Establish an inspection routine. Pay special attention to end caps, connectors, and any silicone yellowing—especially after summer heat or rainy seasons.
Final Thought
Outdoor LED strips aren’t doomed by design. Failures usually come from a chain of small compromises: a weak seal, an undersized power supply, trapped heat, a wiring shortcut, a cheaper material. Control that chain, and your strips will stay bright—not just on the factory floor, but on the wall.
Website:
Social Media: