
















LED Strip Manufacturing Process: 8 Key Steps from FPCB to Finished LED Neon Strip
The neon signs you see on streets and in shopping malls actually emit light from flexible LED strips hidden within. So, what are the actual processes these LED strips undergo in the factory, from a bare roll of circuit board to its final form? Let’s break it down step by step, following these 8 core stages.
First, laying the foundation for the circuit board ➡ SMT placement
Don’t jump to the LED chips right away. The first step is actually tinning the pads of the flexible printed circuit board (FPC). This is like laying the foundation for the ground. After the foundation is laid, automated SMT placement machines precisely “place” the tiny LED chips and resistors onto the board, like building blocks. After placement, the board goes through a high-temperature reflow oven to melt the solder paste and firmly “solder” the components to the circuitry. If this step is even slightly off, the entire board might not light up later.
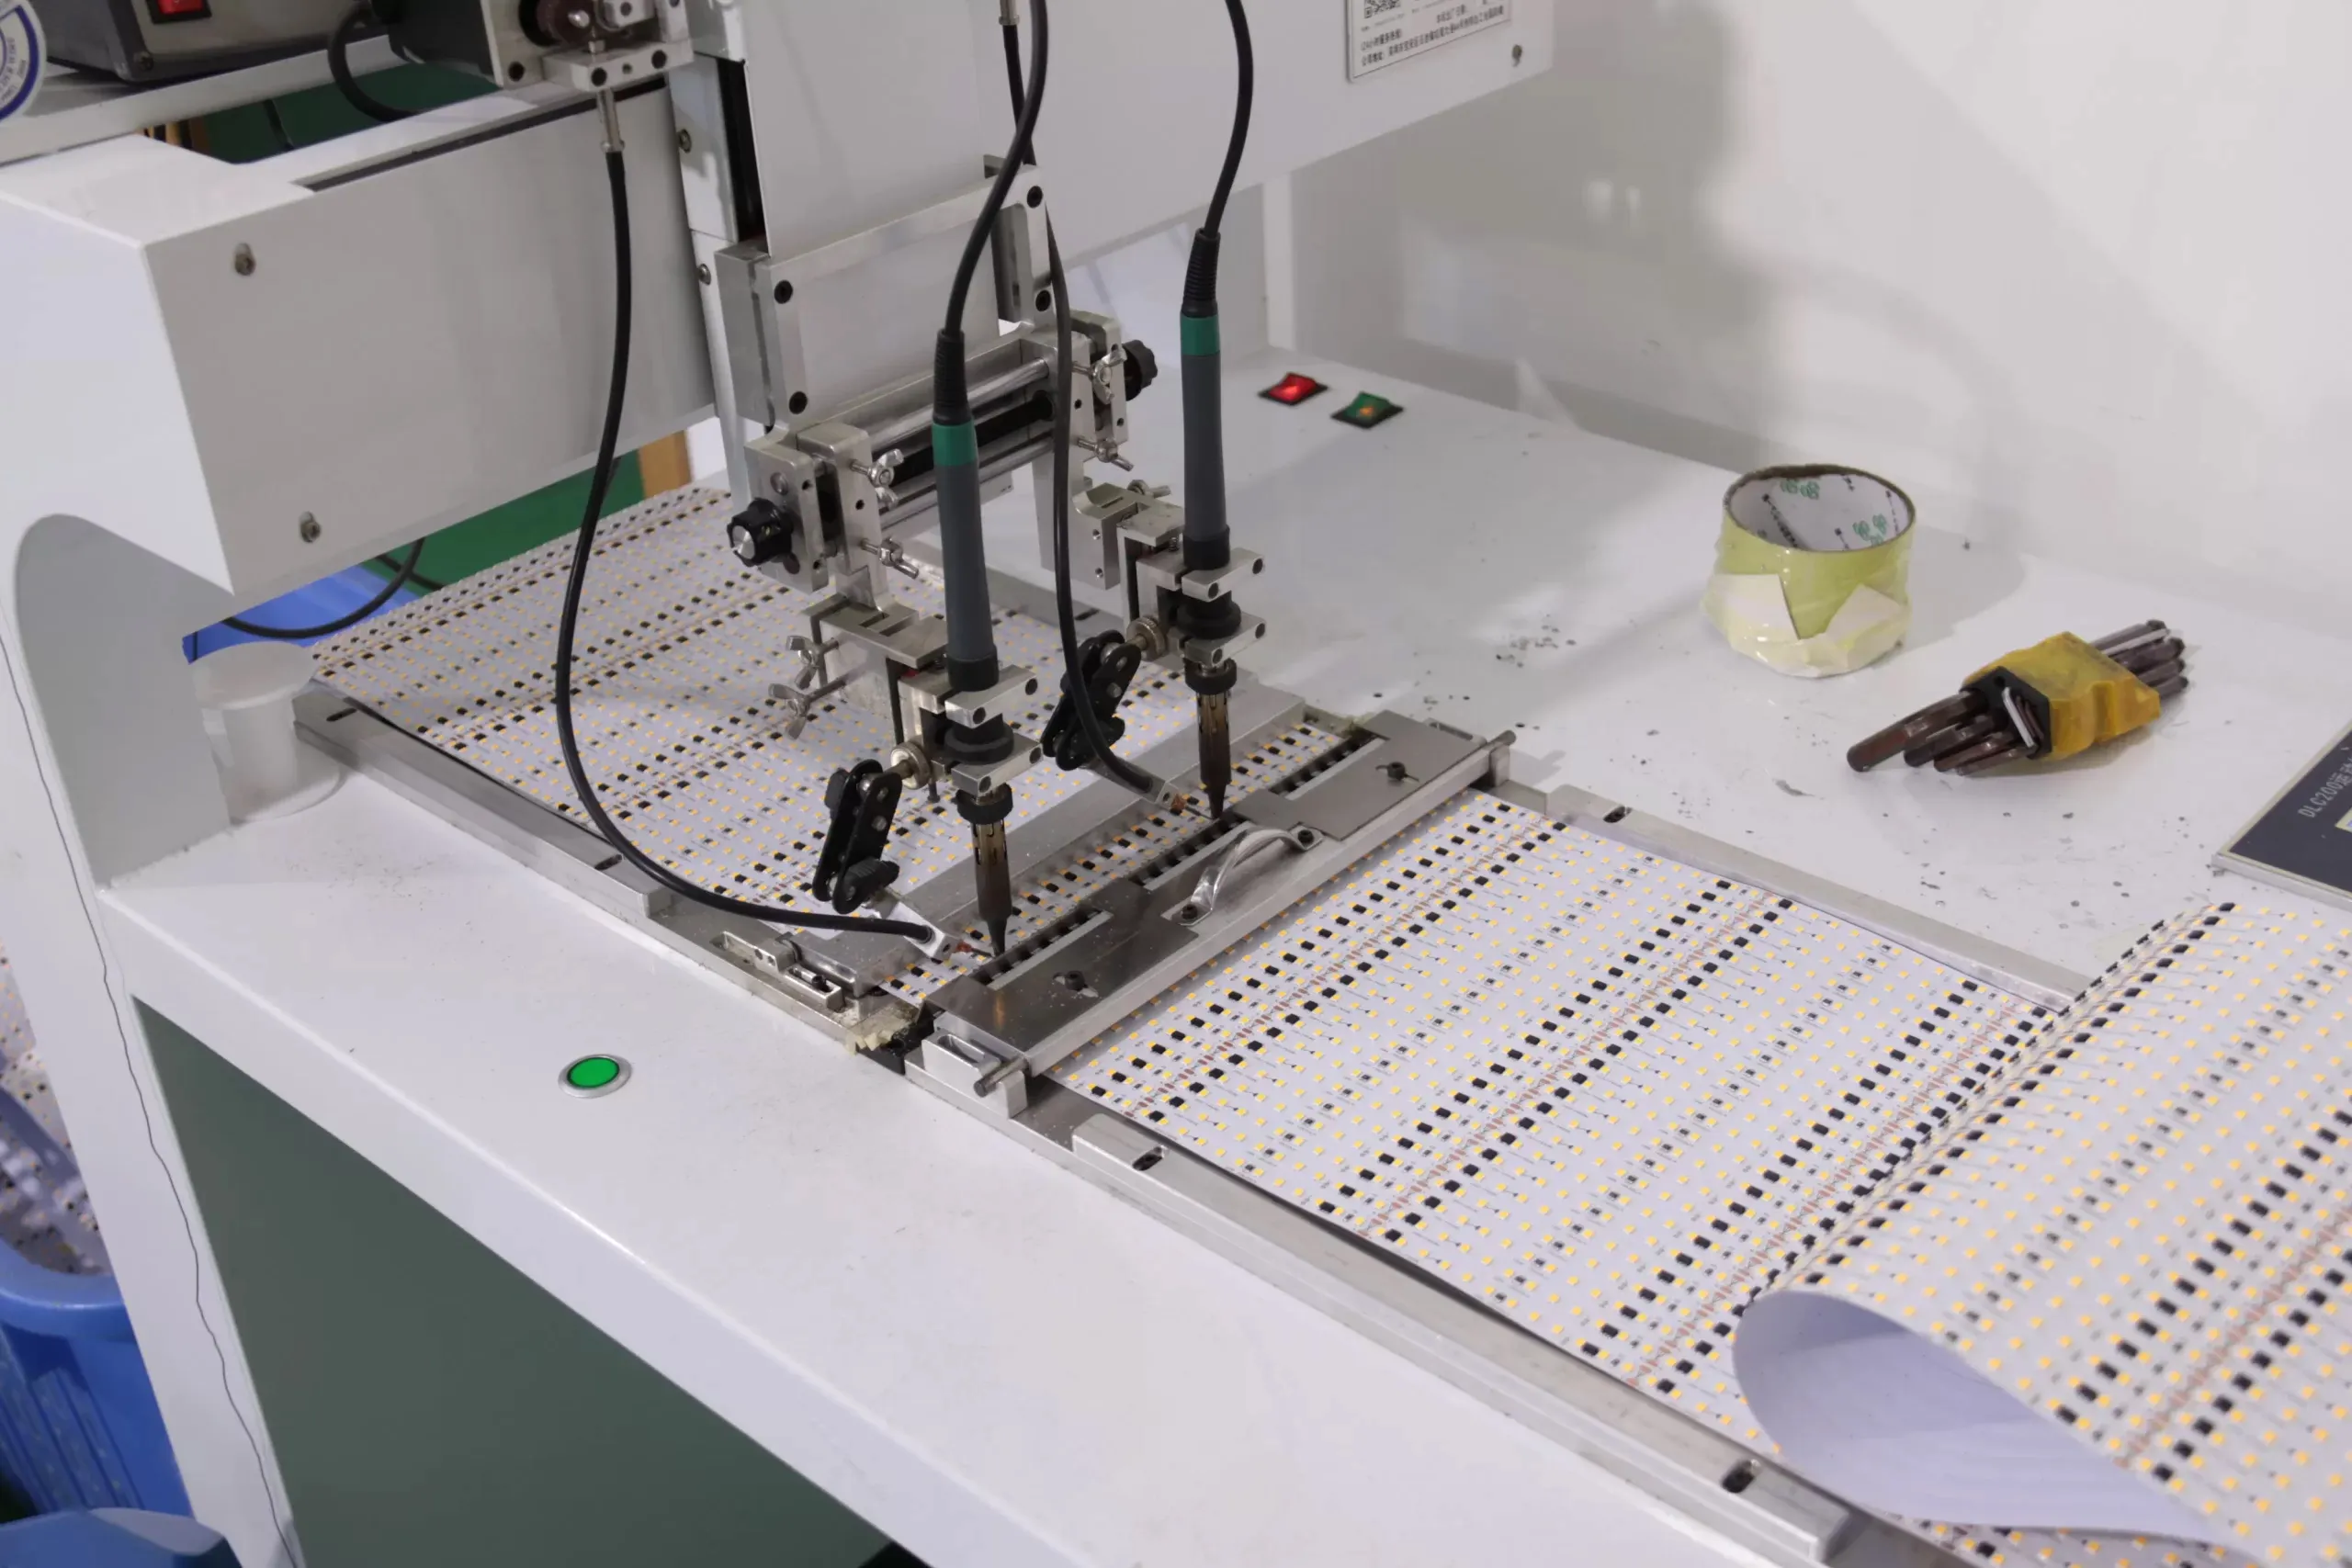
Welding into a Single Strip ➡ Internal Wire Welding
A single circuit board is quite short, but the actual light strips used can be several meters or even tens of meters long. What to do? Workers have to manually weld the sections of the board end to end, connecting them into a long strip. After welding, it’s rolled into a large roll and sent for inspection. This task tests craftsmanship; the solder joints must be smooth and full, with no cold solder joints.
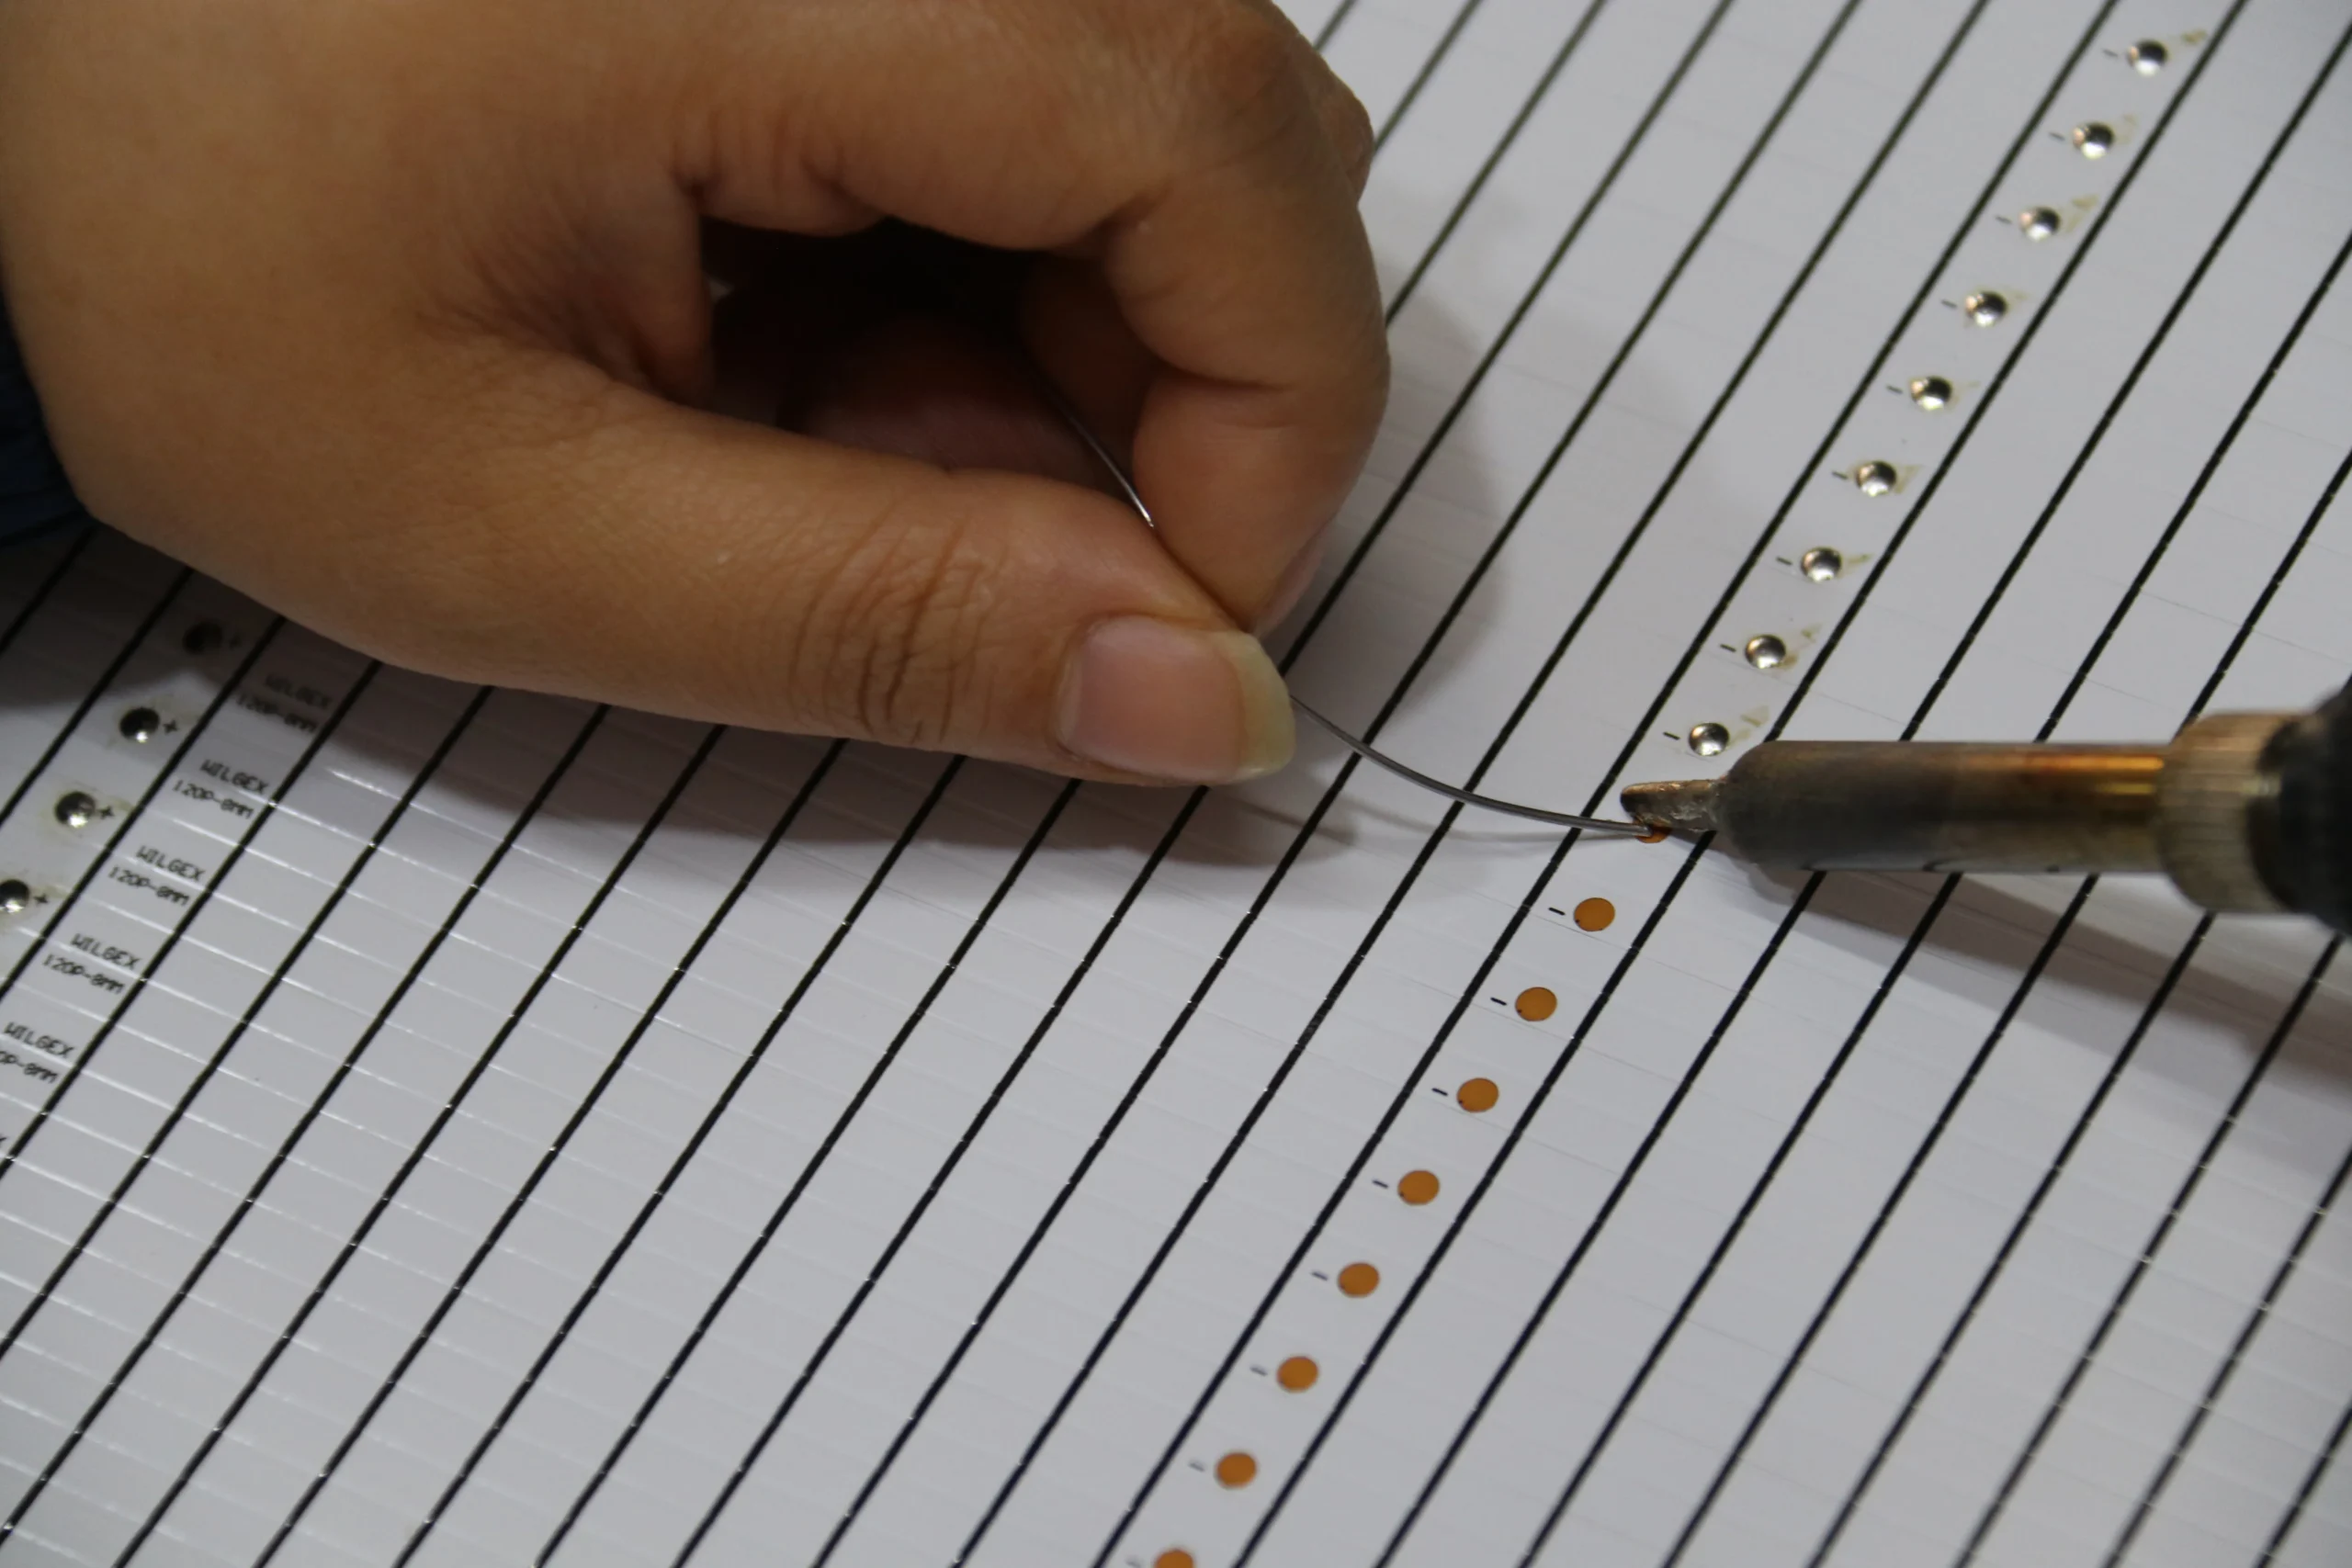
Sifting Each One ➡ FPCB Quality Inspection
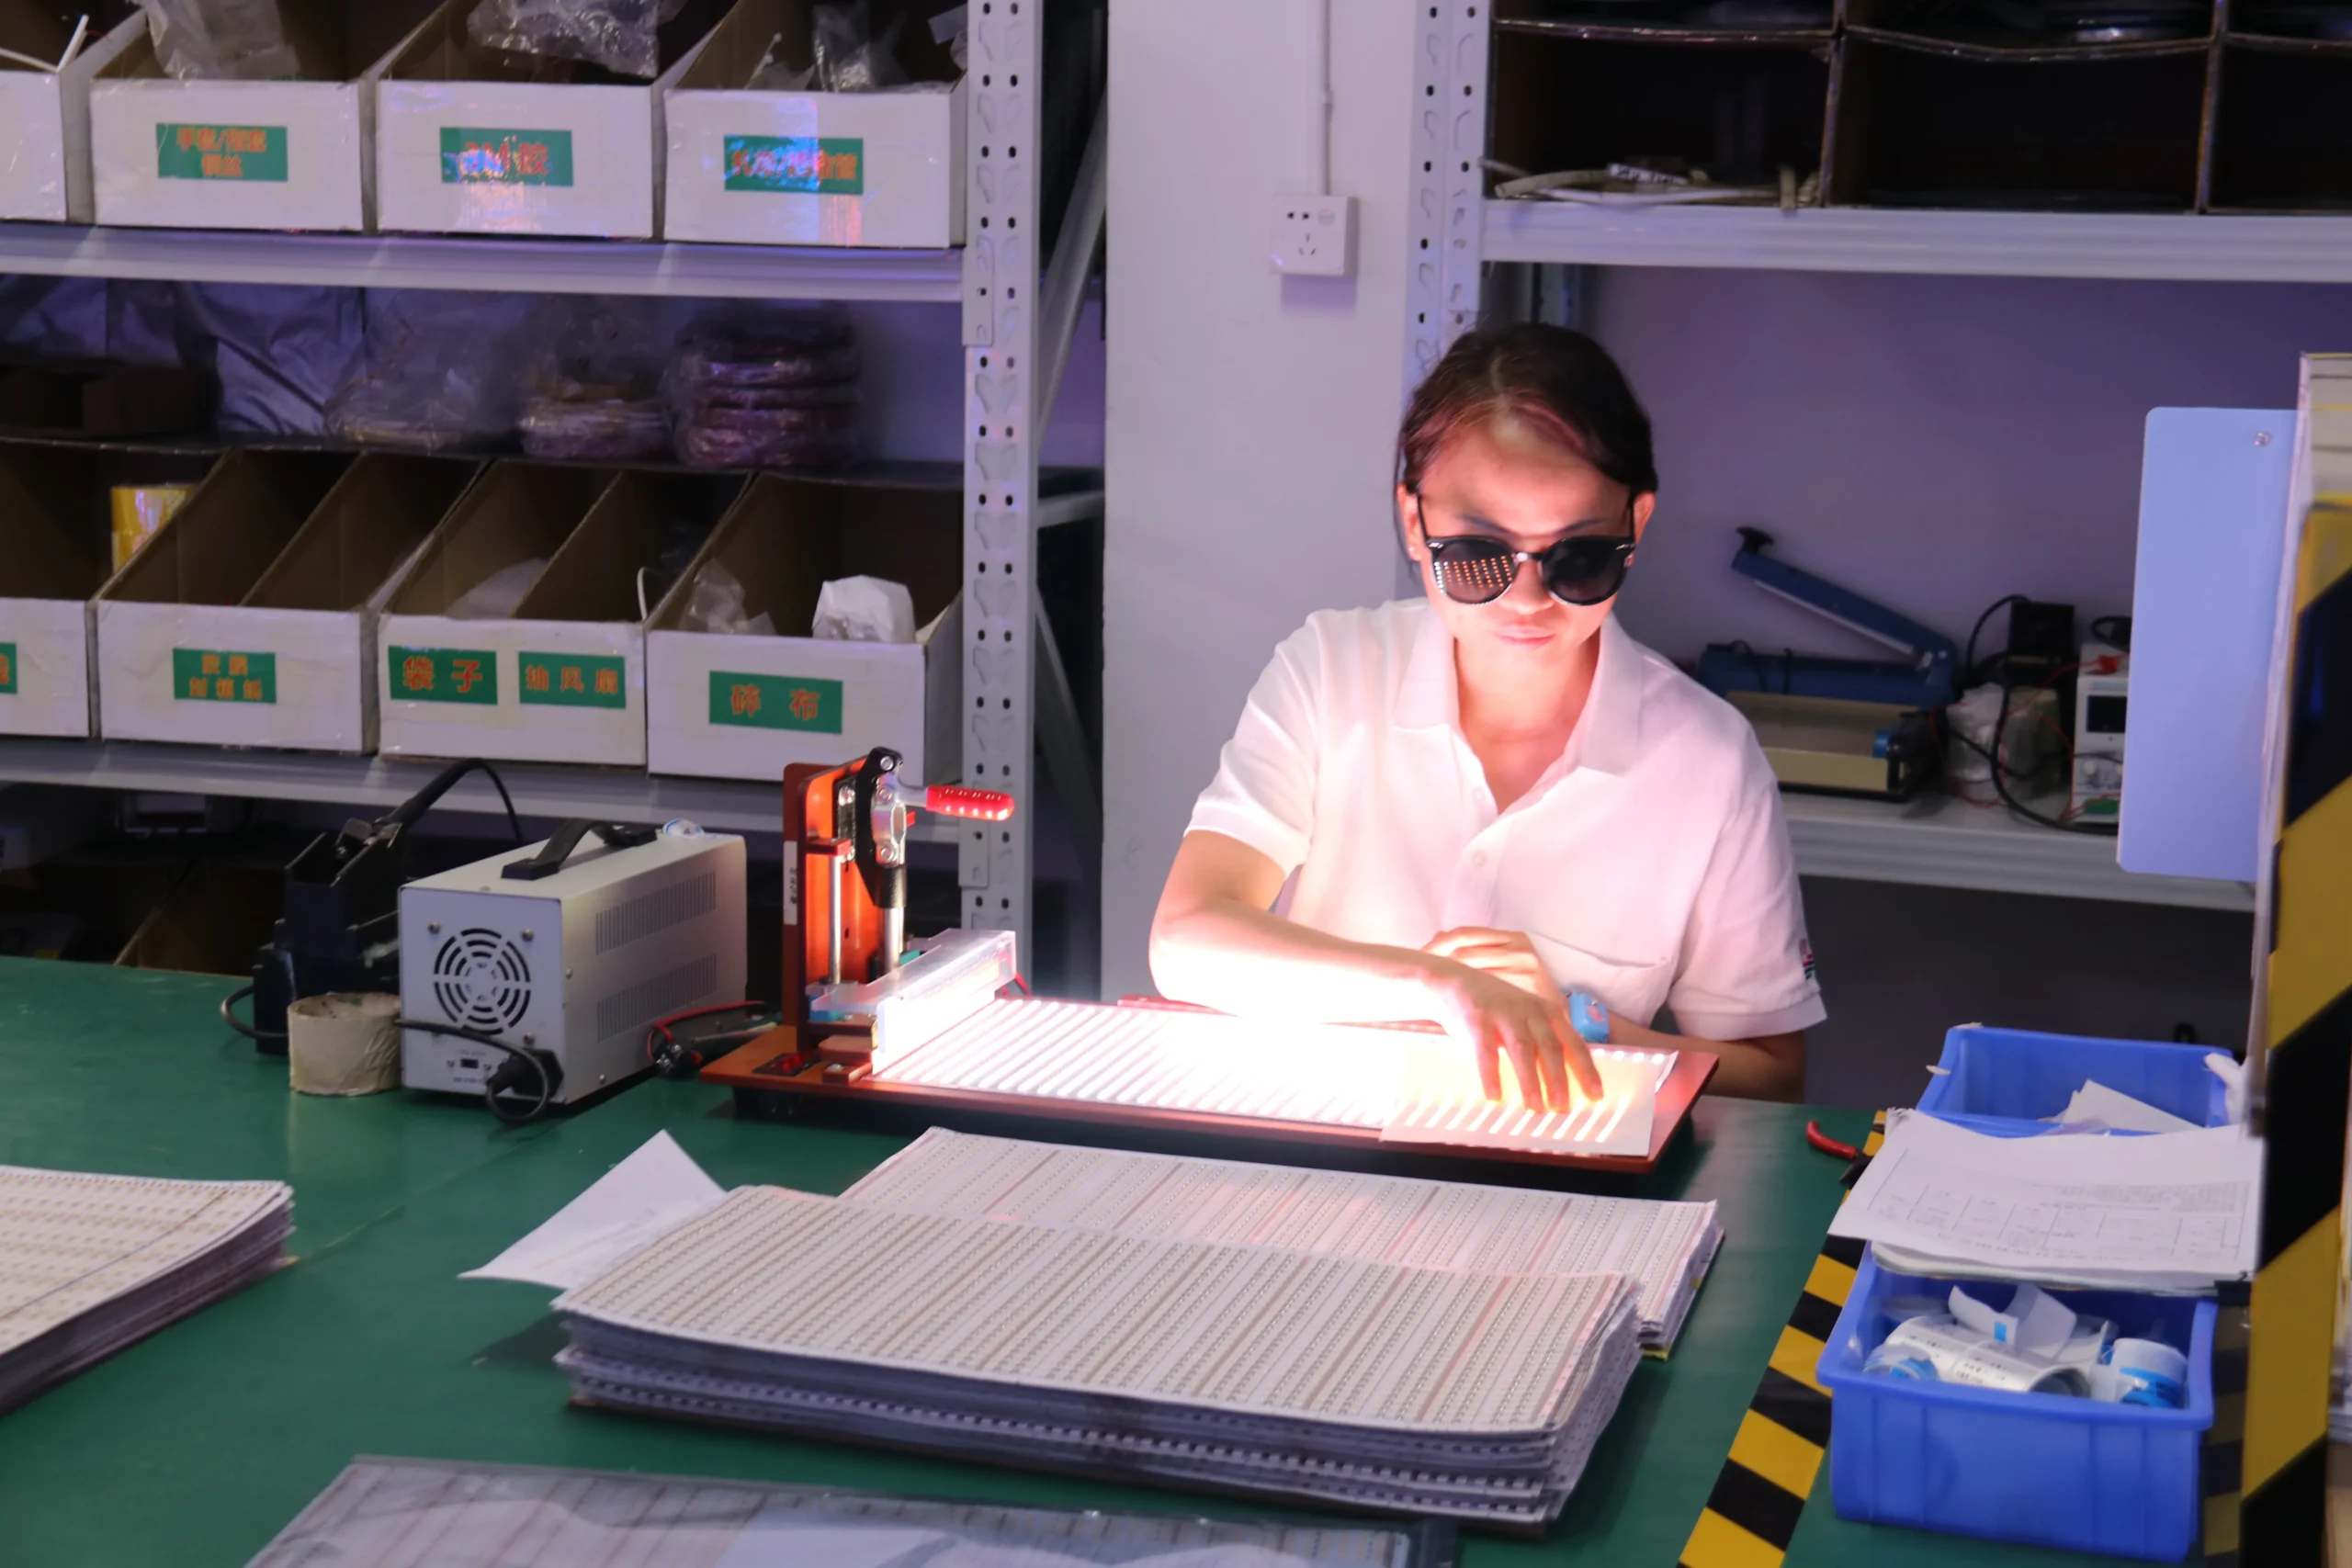
Even with the most advanced machines, you can’t rely entirely on them. The welded boards must undergo a quality inspection. Quality inspectors use magnifying glasses, scrutinizing every solder joint for any misalignment or cold solder joints. This step is crucial; only boards with perfect appearance are allowed to proceed to the next step.
Dressed in “Soft Armor” ➡ PVC & Silicone Co-extrusion Coating
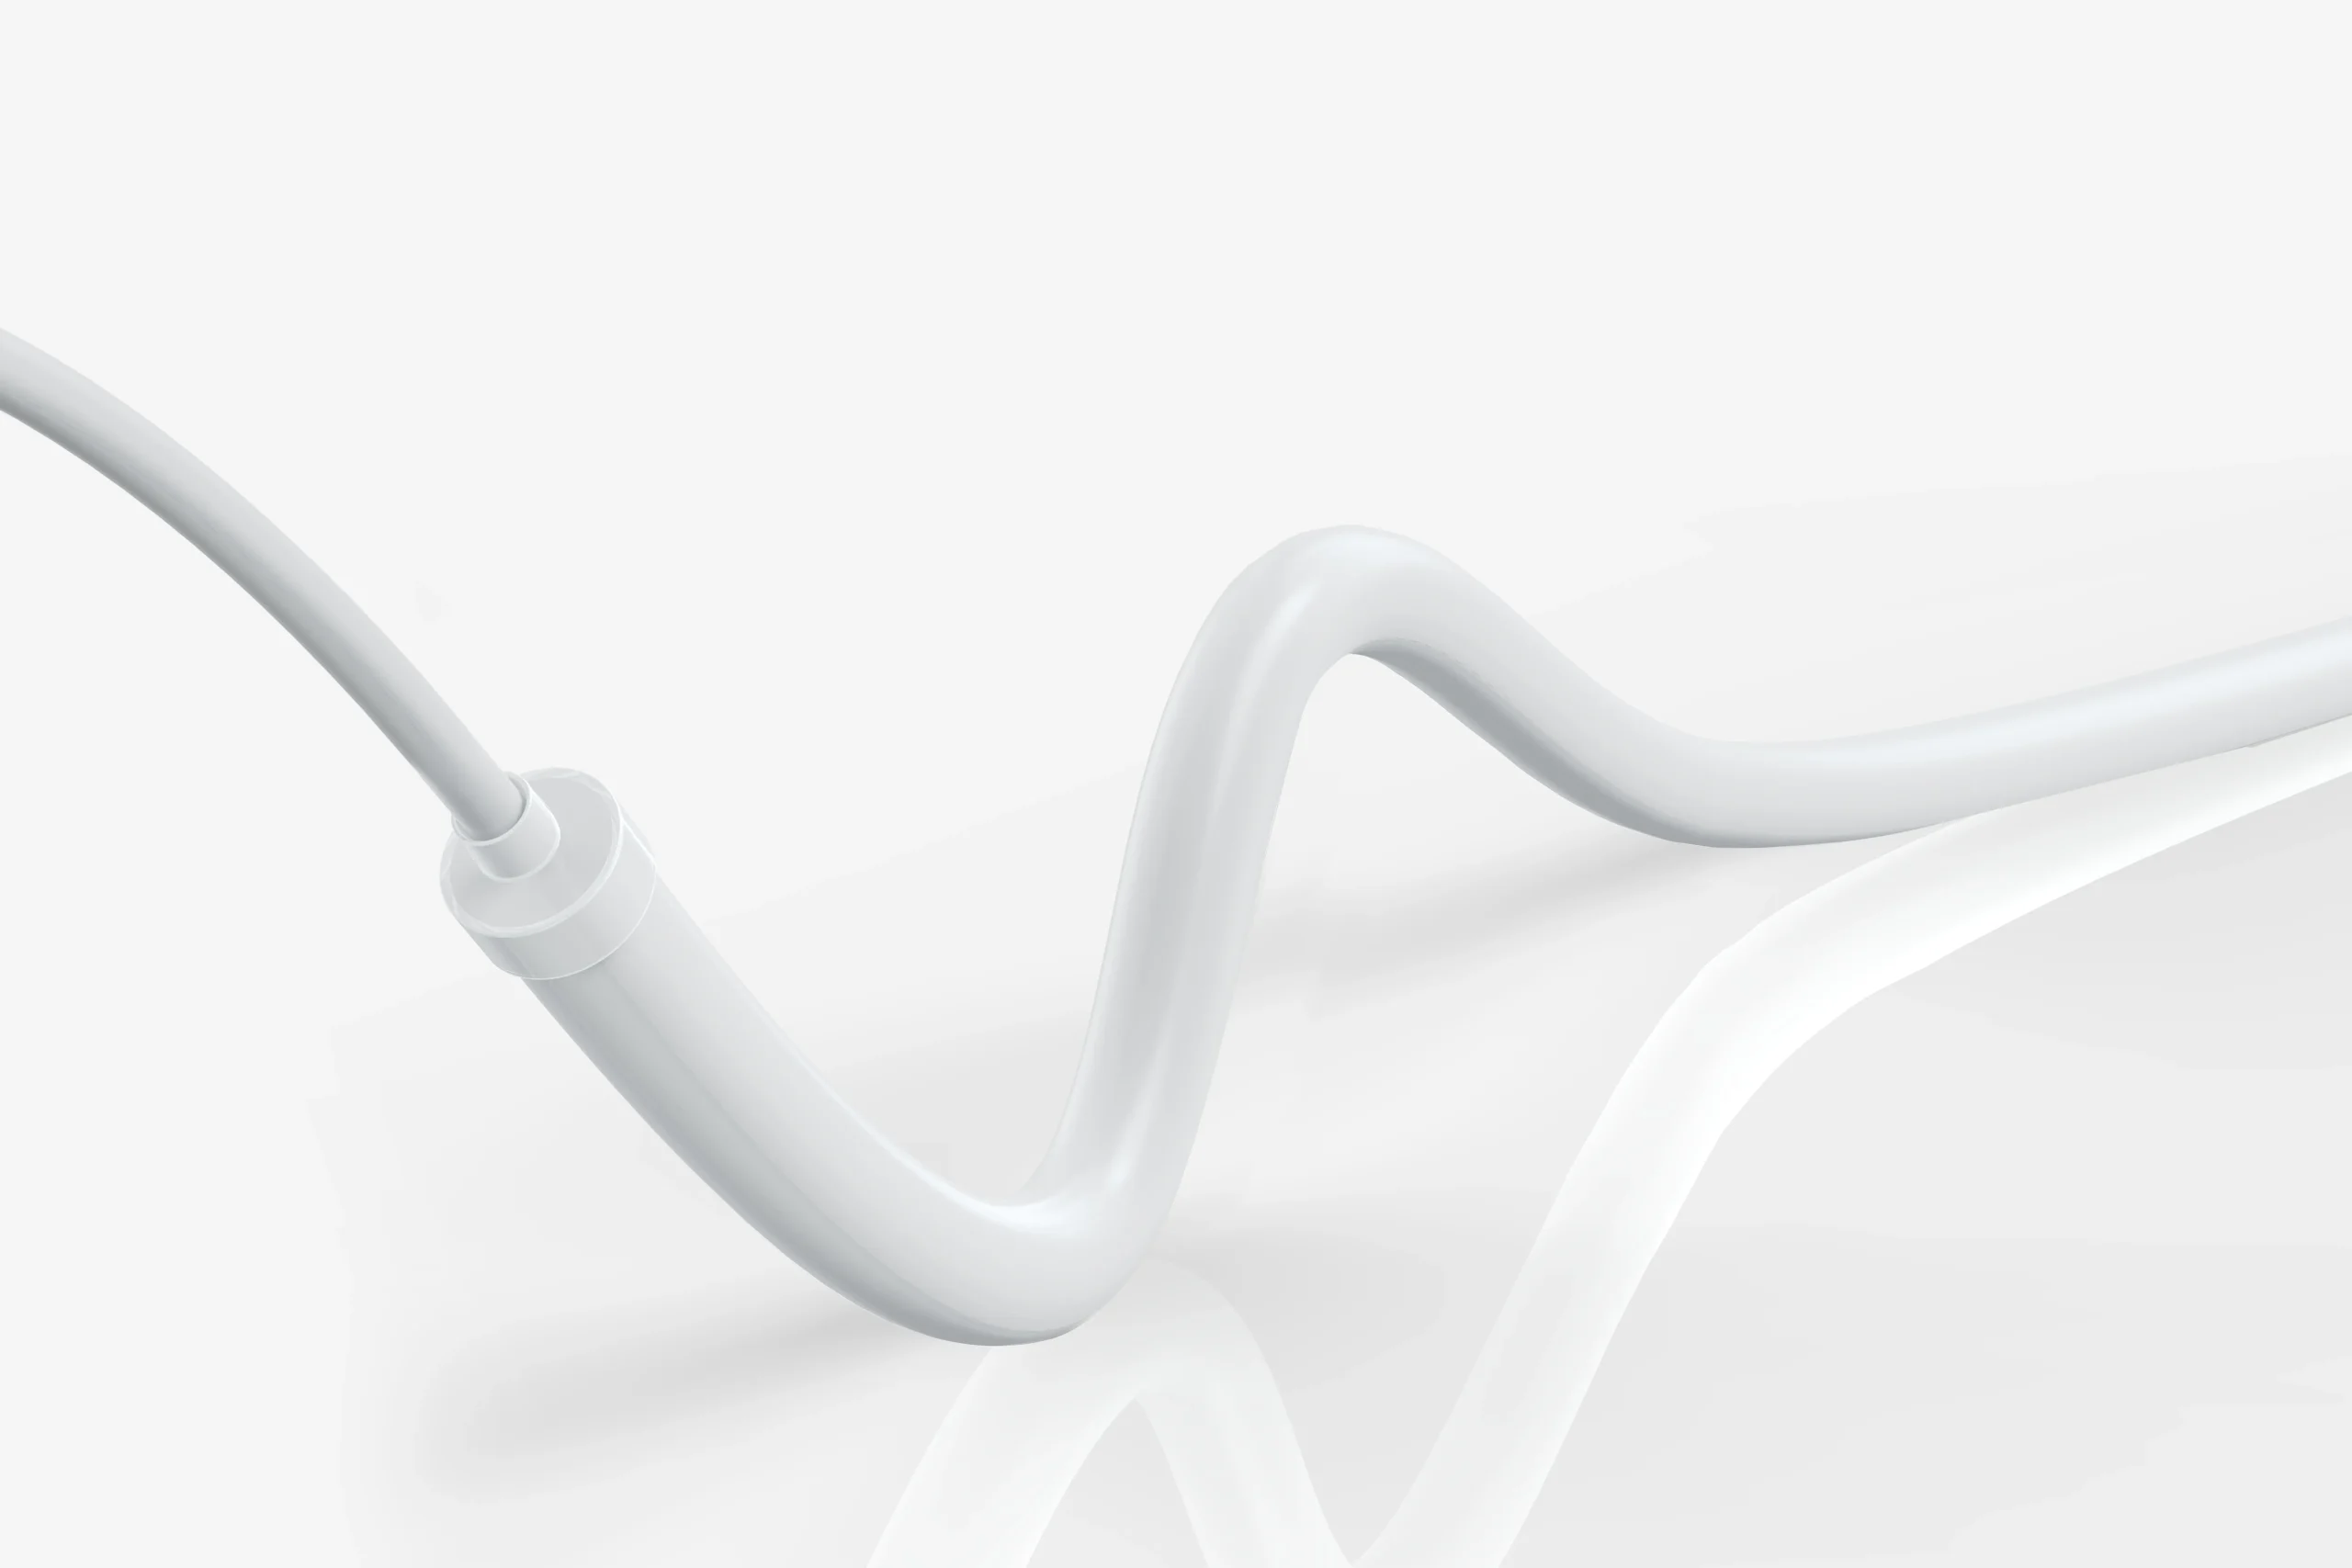
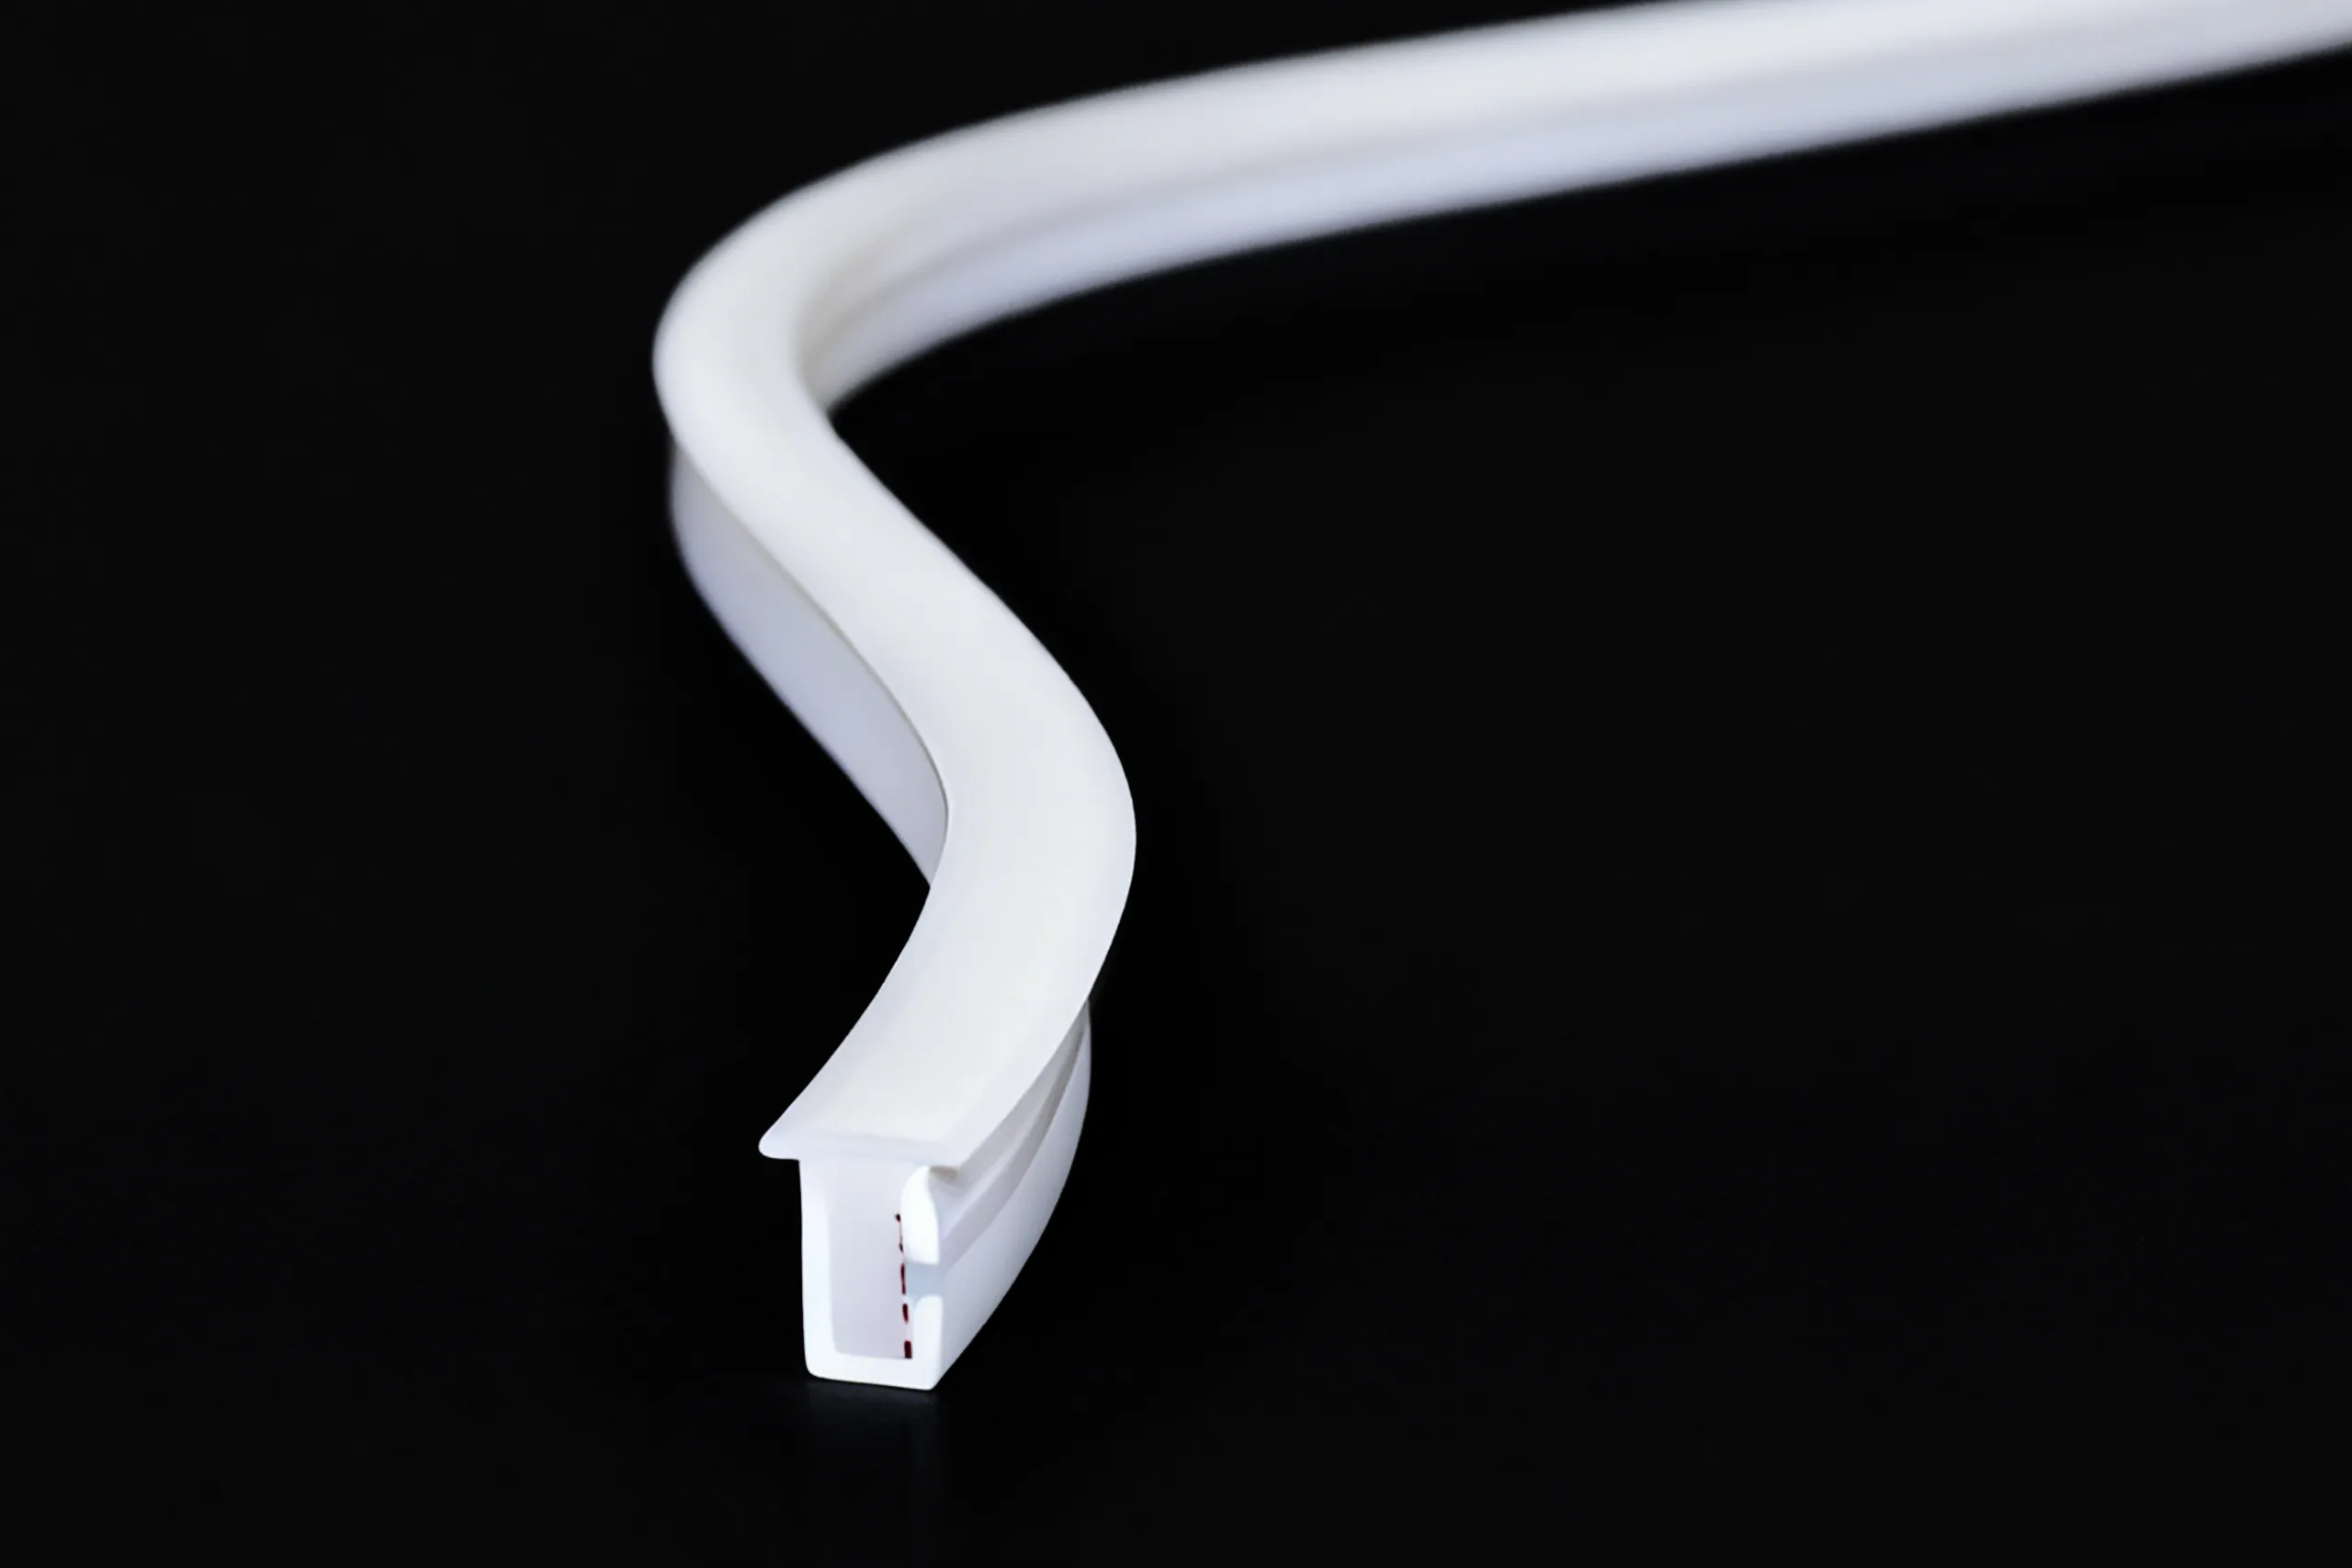
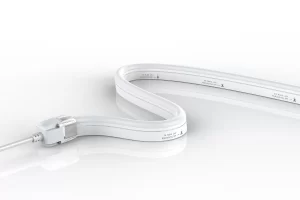
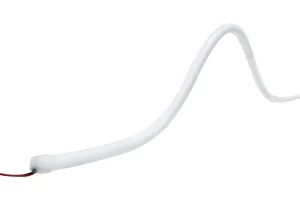
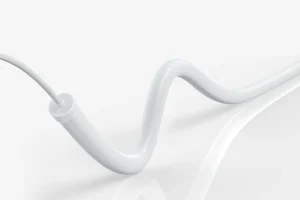
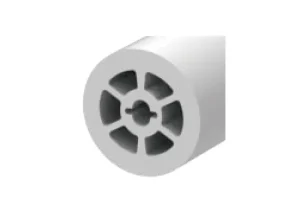
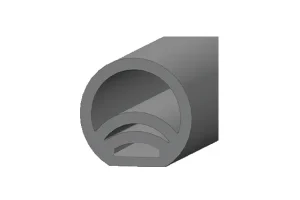
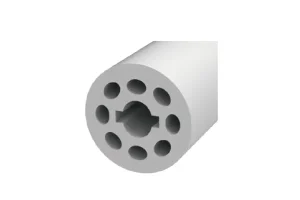
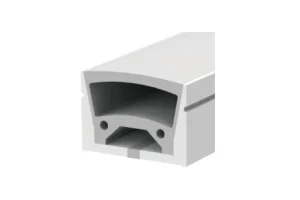
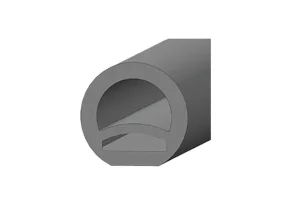
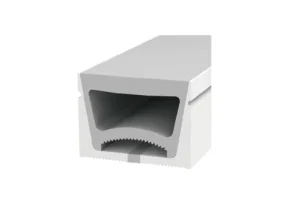
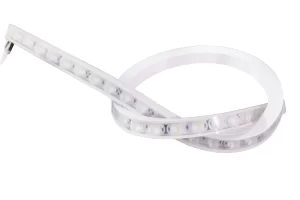
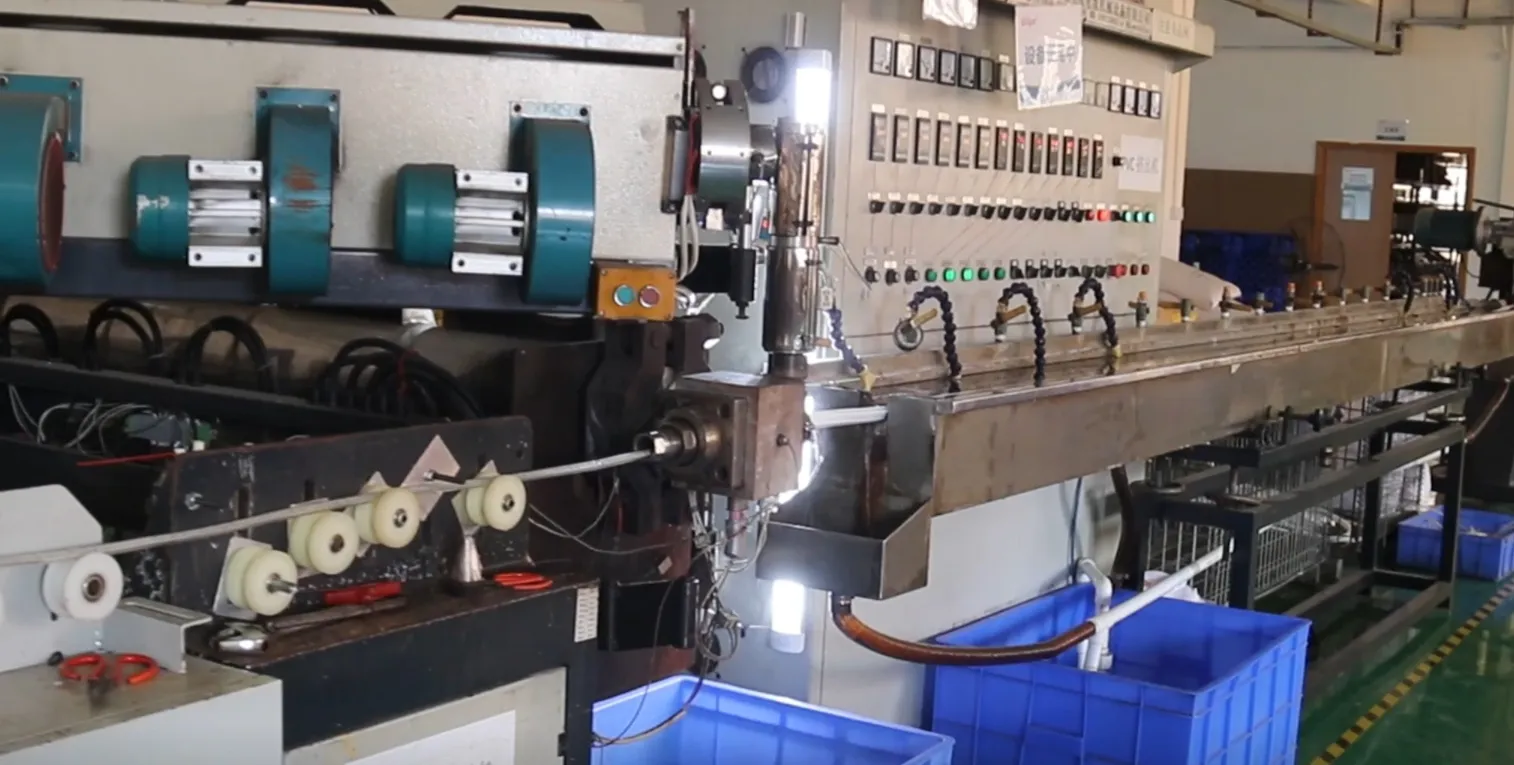
The next step is the most visually striking. The machine, like squeezing toothpaste, evenly co-extrudes liquid silicone and PVC materials onto the surface of the light strip, then cures it at high temperature. This transparent, flexible protective shell is not only waterproof and dustproof, but it also softens the originally glaring light of the LEDs into a uniform, mesmerizing neon effect. It feels great to the touch and the light effect is even more stunning.
24-Hour Power-On Aging Test ➡ 24-Hour Aging Test
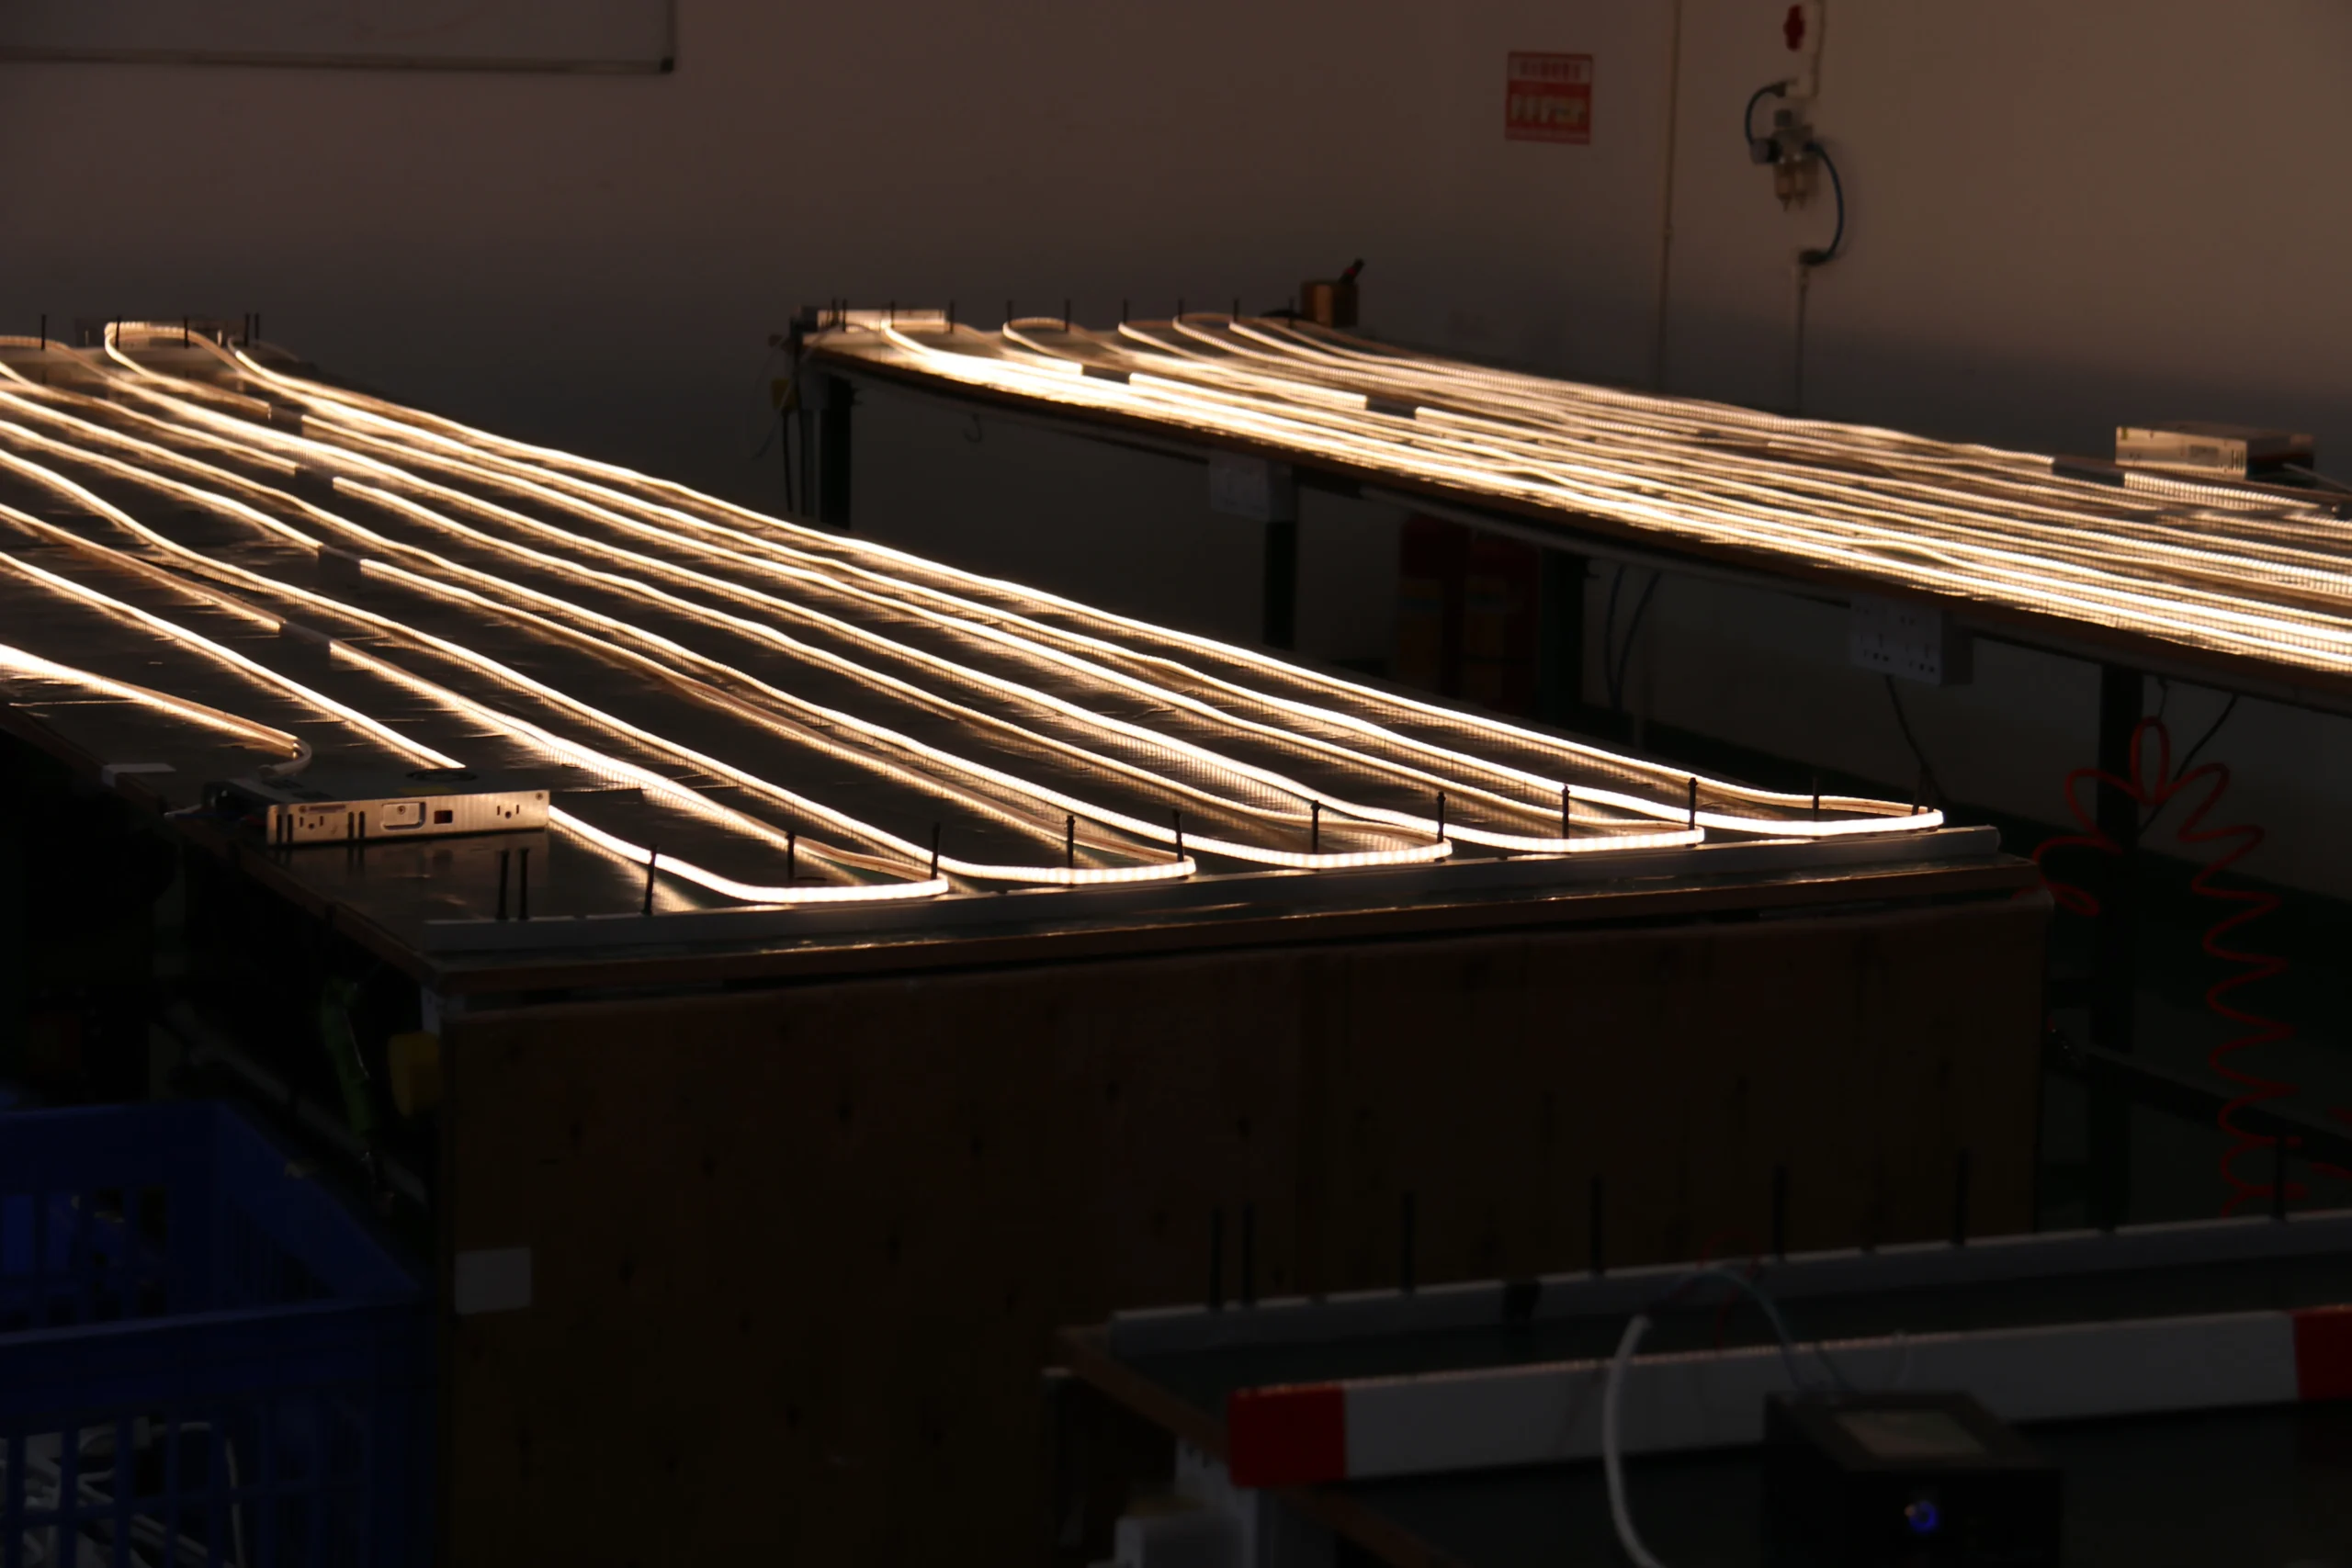
Applying the adhesive doesn’t mean it’s ready to sell. This is the crucial test that determines the fate of the LED strip—24 hours of continuous power-on aging. Simply put, it’s kept lit for a whole day under high temperature and pressure. Any LEDs with poor soldering, dead LEDs, or off-color temperatures will be identified at this stage and marked as scrap or reworked on the spot. Those that don’t meet the standards absolutely cannot pass.
Identifying the LED Strip with a Unique “ID Card” ➡ Laser Marking
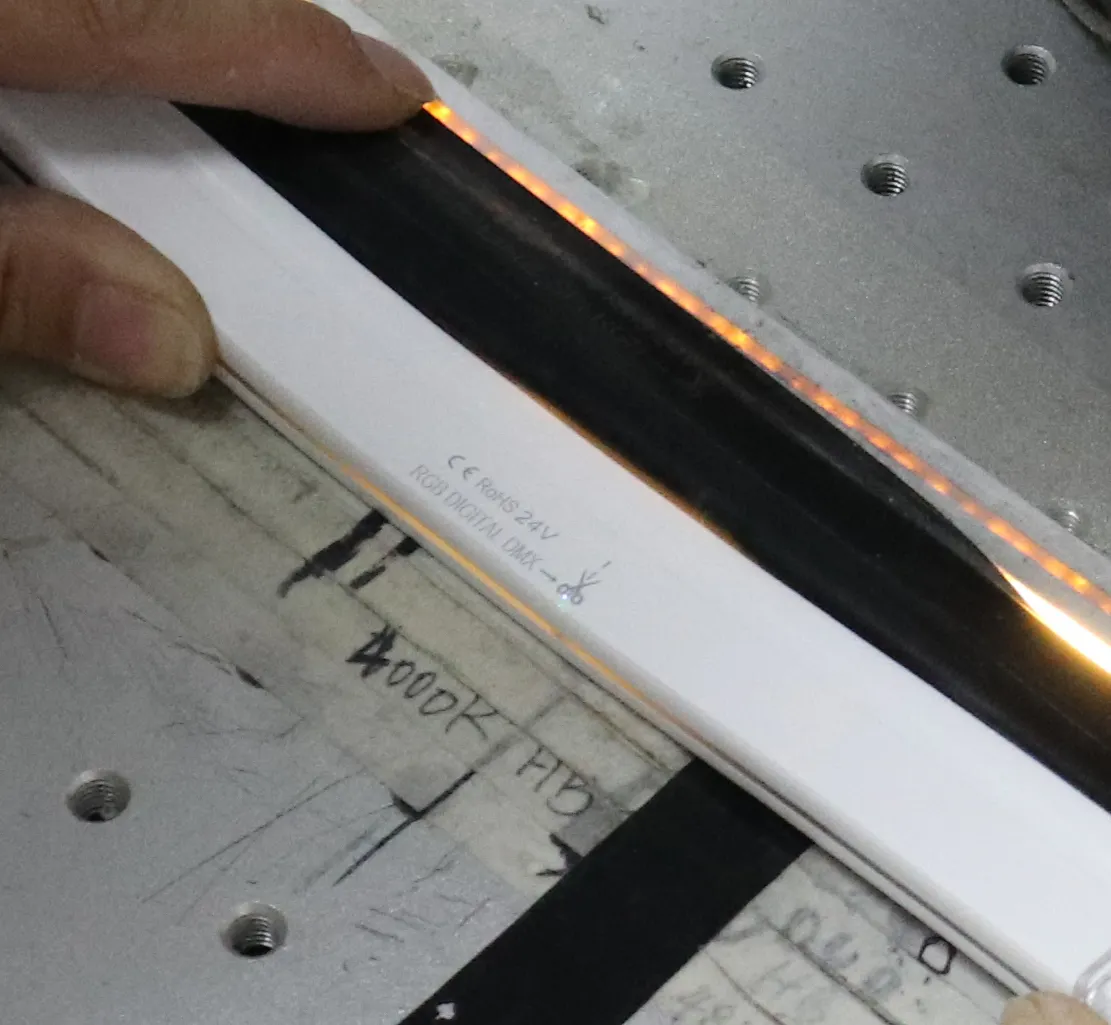
After passing the aging test, the LED strip is stable. Next, a high-precision laser machine will engrave the brand, model, and batch number on the surface. This is called laser marking. With this “ID card,” future traceability, anti-counterfeiting, and after-sales maintenance can all be easily verified. Each high-quality LED strip now has its own record.
Bending and Bending Without Giving a Trace ➡ Bending and Comprehensive
Finished Product Inspection After marking, a final bending and comprehensive inspection is conducted. Workers simulate actual installation, bending the strip back and forth to check for cracks in the silicone sealant and breaks in the internal wiring. They also check if the waterproof sealant space at both ends is sufficient and if the electrodes are clean. This step ensures final reliability.
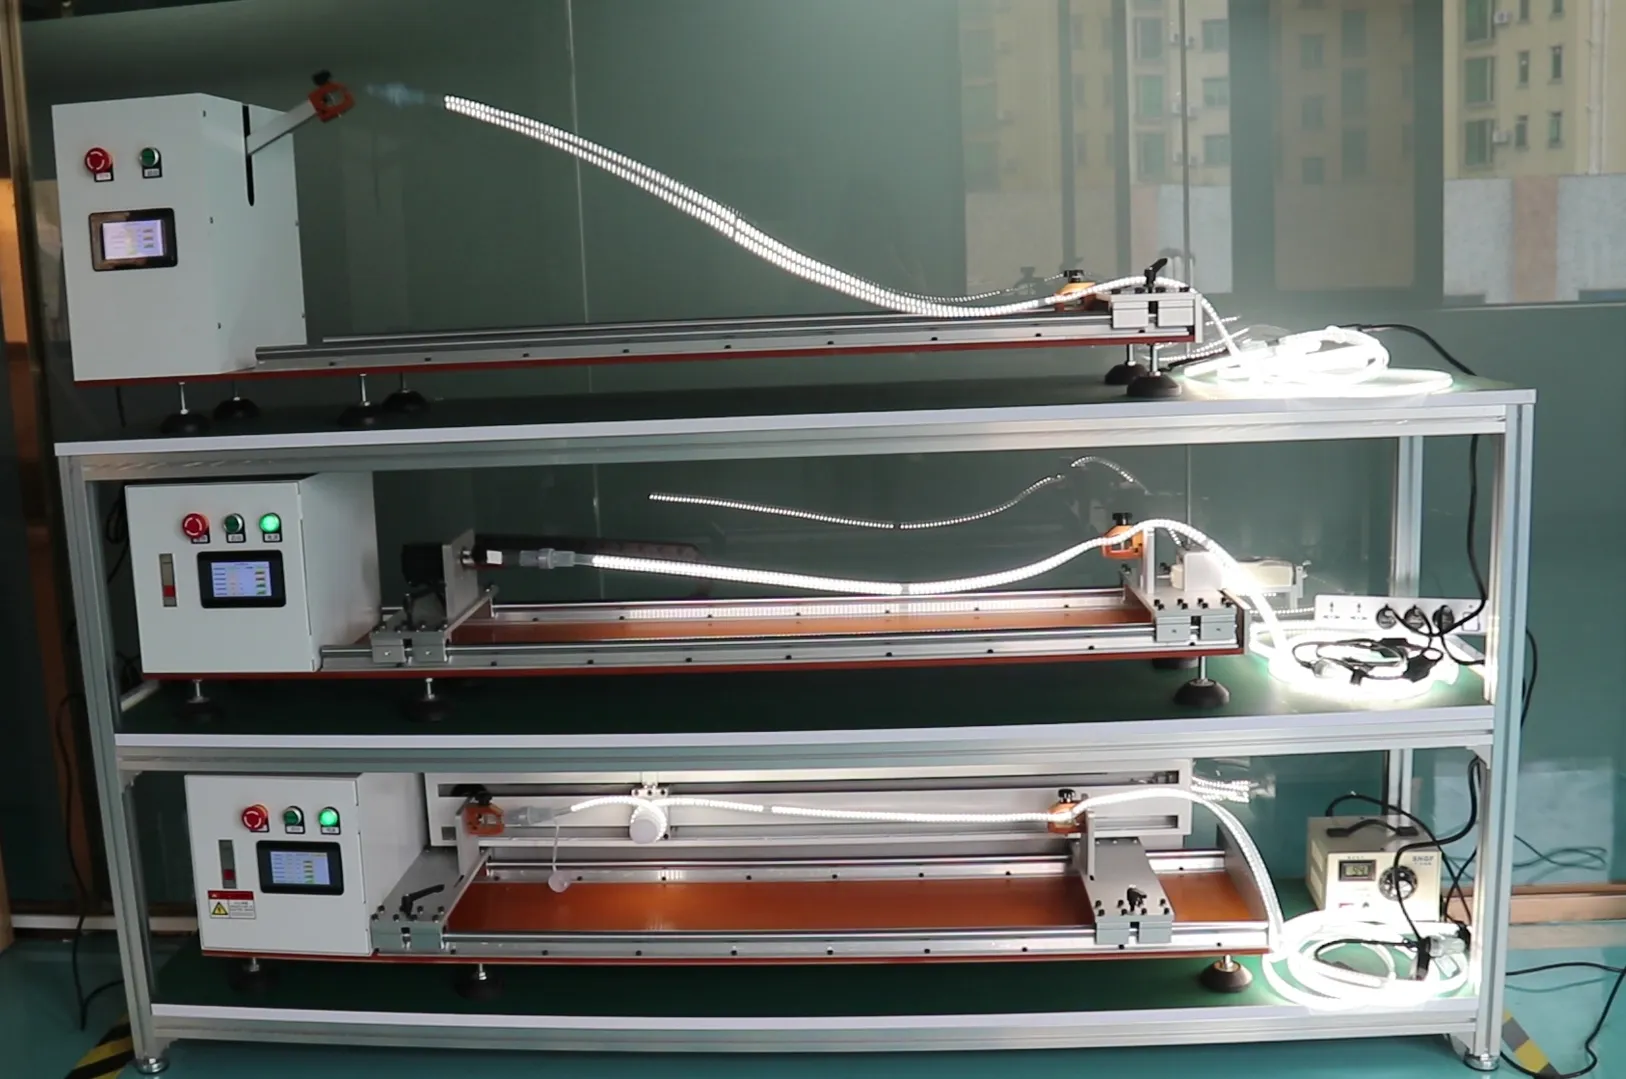
Neatly Rolled Up for Shipping ➡ Finished Product Packaging and Warehousing
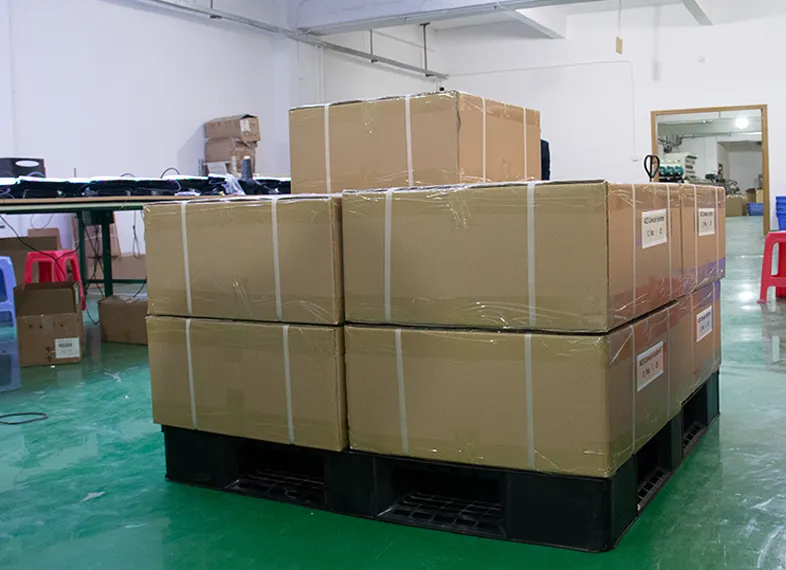
After all the checks, it’s time for the final touches. The qualified LED strips are neatly coiled onto packaging reels, covered with protective film, labeled, and boxed and stacked. Finally, they are sent to a warehouse with constant temperature and humidity, quietly awaiting delivery to the customer.
In short, these eight processes are interconnected. Any attempt to cut corners or shoddy work at any step will be exposed the moment the strip is powered on. A truly ambitious factory doesn’t just make products that “work,” but ensures that every light strip is aesthetically pleasing and durable.
Learn more about Wilgex LED Neon Lighting Solutions:
Website:
www.wilgex-led.com
Social Media:
www.facebook.com/WilgexLEDNeonFlex