
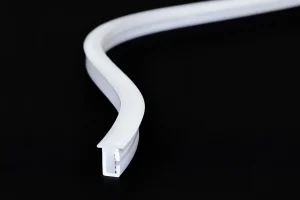


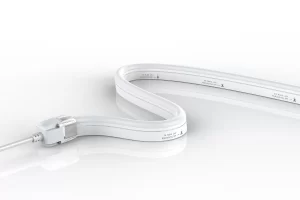
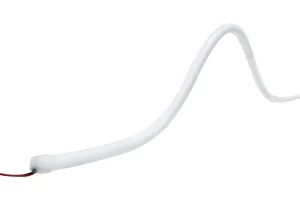

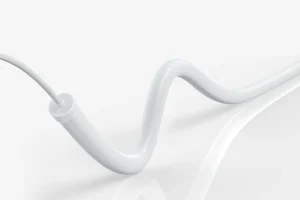
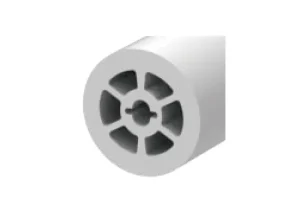


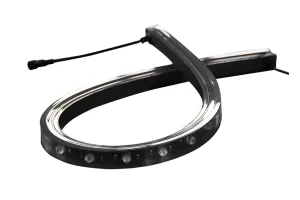
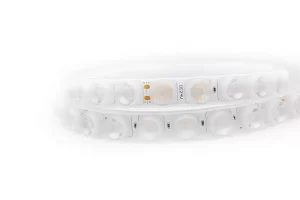
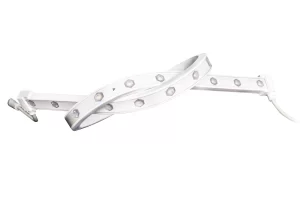
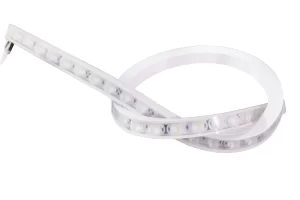












LED Flexible Strip look simple enough, but once you actually start installing them, you’ll run into all sorts of little traps. These points below are the ones people overlook the most—and they make the biggest difference in the final look and how long the strip lasts. Let’s go through them one by one.
01 Find the scissor mark before you cut
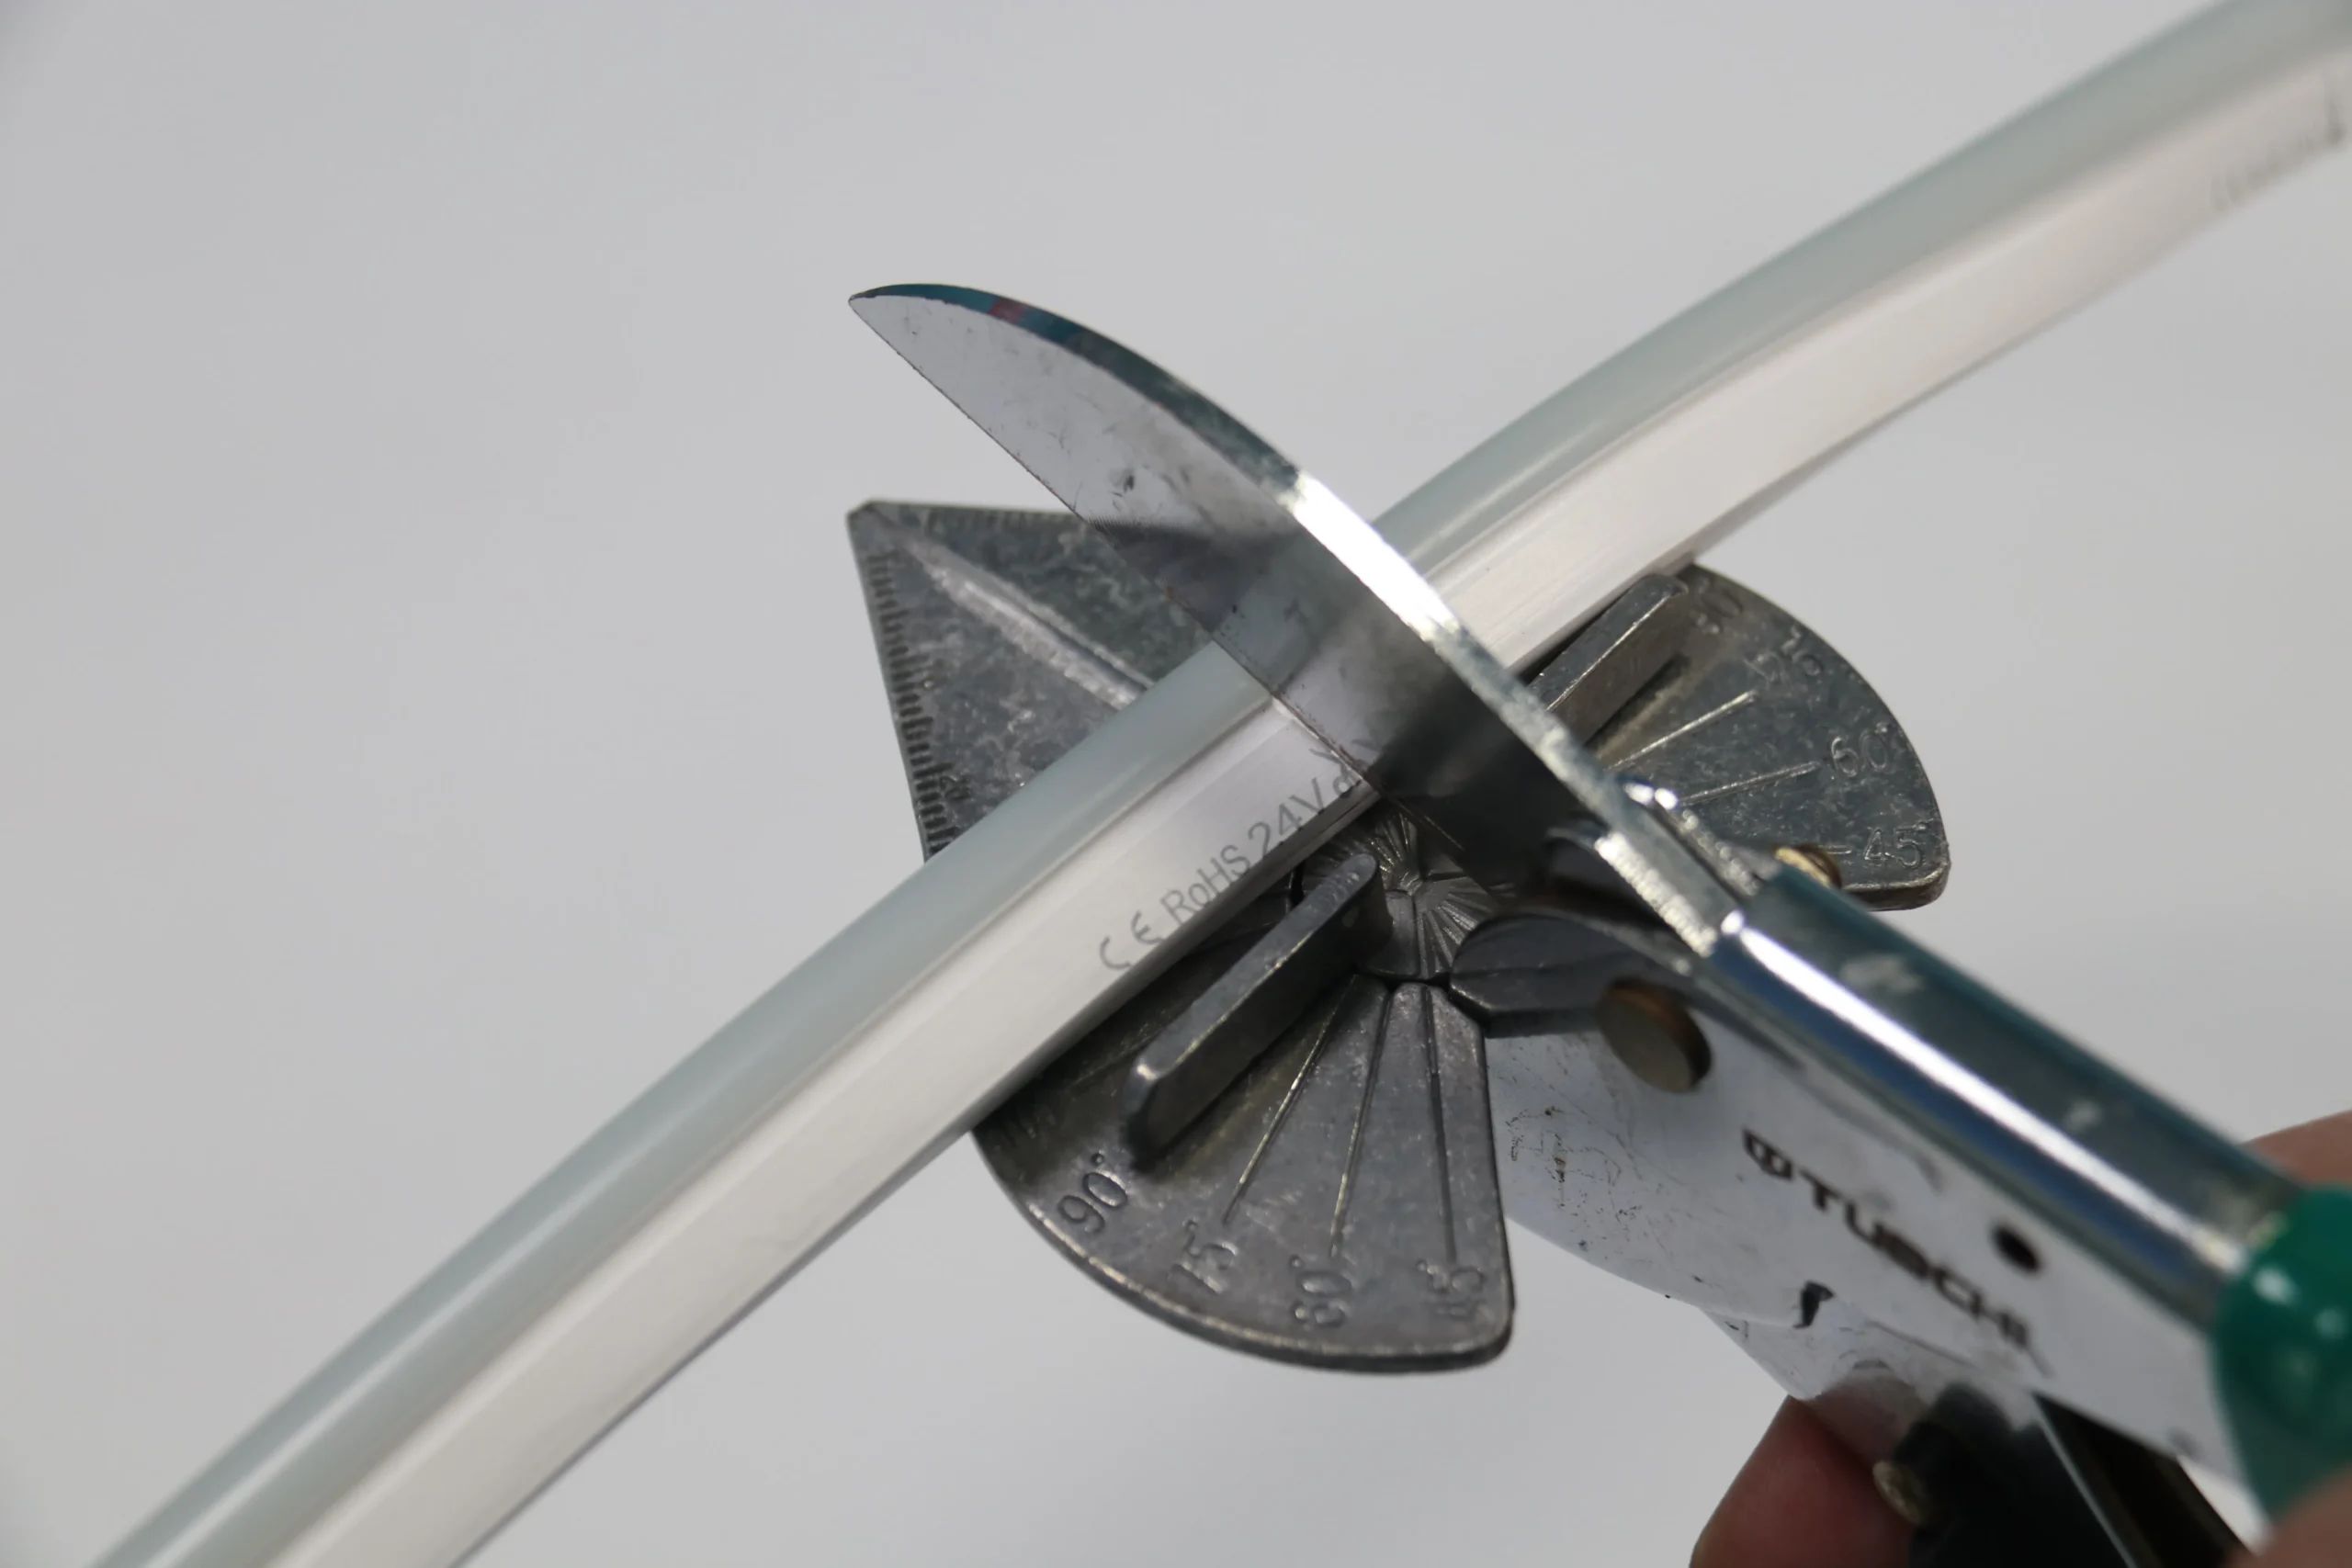
Don’t just grab your scissors and start cutting anywhere. The strip has a little scissor icon printed on it—that’s the only spot where it’s safe to cut. Cut somewhere else, and that whole section of the circuit might go dark, and there’s no fixing it. Use sharp scissors or a blade, make one clean cut, and watch your fingers.
02 Don’t DIY the soldering unless you’re really confident
Honestly, if you don’t have experience, I wouldn’t recommend soldering these yourself. Use lead-free solder and rosin flux, and ideally have a proper electrician or technician do it so the joints are solid. If you insist on doing it yourself, strip about 1.5 cm of the coating off both the strip and the power cord ends, apply a thin layer of solder paste, then preheat with a heat gun and touch the solder wire to the hot spot until it melts.
03 Connecting wires isn’t just twist-and-tape
When you add connecting wires, use flexible pure copper wire and match the spec to the strip. If you’re linking two strip sections in series, the voltage and specs must be identical, and don’t exceed the rated maximum total length. For outdoor installs, seal every connection point with silicone—moisture getting in there causes serious headaches later.
04 Keep your hands off the LED chips, and always work with the power off
When installing bare-board strips, don’t touch the LED chips directly. Sweat and oil from your fingers can shorten the chip lifespan—something most beginners never think about. Before connecting power, double-check that everything’s installed and wired correctly. Never do installation work while the power is on. Once mounted, do a final check of wiring, brackets, and mounting before switching it on.
05 The surface needs to be smooth—rough spots are trouble
That 3M adhesive backing isn’t magic. For indoor installs, the surface must be smooth and flat, no burrs or splinters. Otherwise the strip might not stick properly, or worse, get scratched and short out. Just peel the backing and press it flat, but don’t stick it directly onto rough walls or wood with splinters.
06 Better heat dissipation, longer life
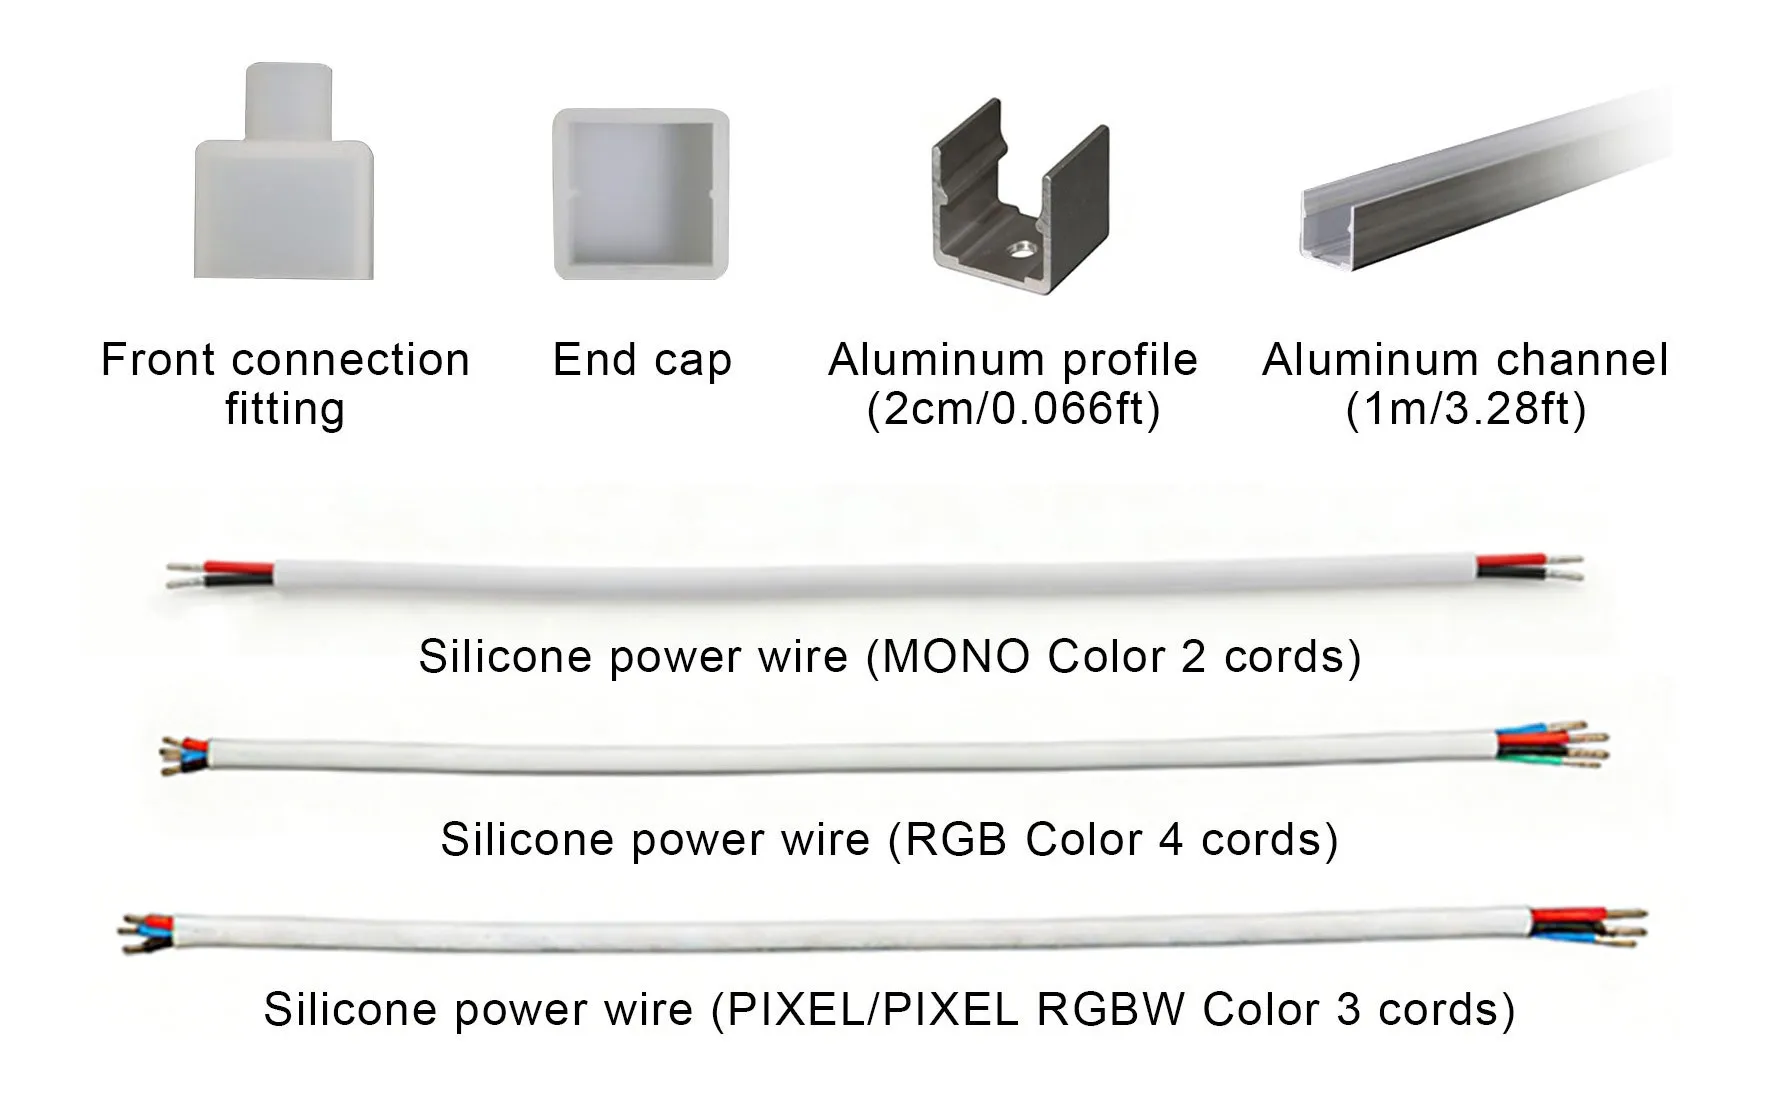
Heat management gets ignored way too often. Whenever you can, use rigid, thermally conductive materials like aluminum profiles and keep the install neat. For outdoor use, don’t rely only on 3M tape—wind and rain will eventually peel it off. Mounting clips or channels are much more reliable.
07 Leave some headroom on the power supply
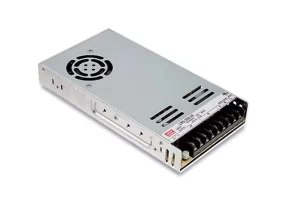
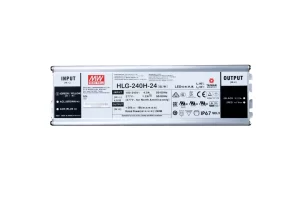
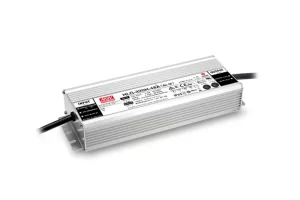
Don’t spec the power supply exactly to the load. Running it at around 70% of its rated capacity makes a huge difference in lifespan. LED strips usually run on 12V DC, so when picking a switching power supply, calculate the wattage based on the strip’s total power and length.
08 Power supplies need to breathe—don’t confuse water resistance with waterproof
Power supplies need airflow to stay cool, so don’t cover them up. Most are moisture-resistant, not waterproof. If you’re installing outdoors, put them in a separate waterproof enclosure. Also make sure the voltage matches the strip; wrong voltage can mean no light, burnt components, or even a fire.
09 Reversed polarity = no light
Pay close attention to positive and negative when wiring; for smart strips, also watch the signal wire. LEDs are diodes that run on DC—reverse the polarity and they just won’t conduct, no light, no burnout. If the strip doesn’t light up when powered, try disconnecting it and testing from the other end.
10 Plan your light angle and reflection ahead of time
If the light is meant to bounce off a surface, figure out the installation angle and spacing beforehand so you don’t end up with weird shadows or uneven patches. Don’t rush to pack up after installing—turn the lights on and check if the brightness, color temperature, and spread actually look right.
11 Don’t treat profiles as an afterthought
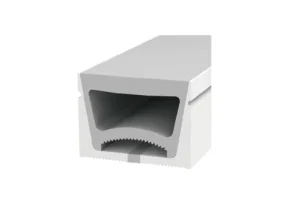
If you’re planning to use mounting profiles, don’t wait until the strip is half-installed to think about them. Channel routing, diffused lighting effect, recessed vs. surface mount, flanged or not—these decisions affect the install order and the final look. Measure the installation length accurately first, leaving a little slack for connections and securing.
12 Sealing and waterproofing isn’t optional
Some strips come with epoxy coating or sleeves. If you cut or rewire them, the waterproofing at the joints has to be done properly. Put a PVC end cap on the strip end, clamp it tight, then seal around the joint with neutral-cure silicone.
13 Color temperature: don’t just trust the numbers
Color temperature can be misleading. LED strips are often installed in cabinets, ceiling coves, or curtain pockets where the light reaches your eyes after bouncing off surfaces. That changes the perceived color temperature compared to the spec sheet. For living rooms, it’s best to combine a main light with secondary lighting so you can switch between different moods easily.
14 Regular checks aren’t just for show
Installation isn’t the finish line. Periodically check the wiring, brackets, and fasteners so you catch looseness or aging early. This is especially true for outdoor strips—a quick inspection now and then gives you peace of mind.
15 Cold weather installation trick
In cold weather, LED strips get stiff and hard to bend. You can power them on for a few minutes to soften the material, then cut the power and install—way easier. Don’t hit the strip with heavy objects or drop it. After installing, run a quick test to make sure there are no dark spots or flickering before you call it done.
Getting these details right makes a massive difference in both the lighting effect and how long your LED strips actually last.
Learn more about Wilgex LED Neon Lighting Solutions:
Website:
www.wilgex-led.com
Social Media:
www.facebook.com/WilgexLEDNeonFlex