



















You know the scene. You buy an LED strip that’s a little too long, snip it wherever seems convenient, and suddenly half of it is dead. Or the strip is too short, so you force a connection—and then it won’t light up, flickers, or looks bright at one end and dim at the other. Annoying, right?
A lot of people ask, “Why can’t I just cut and connect these however I want? They all look the same.” Well, that’s exactly the problem. They look the same. But the difference between a clean, seamless install and a mess of issues comes down to where—and how—you cut and connect them.
Can you really cut an LED strip anywhere?
Short answer: no. Not anywhere.
Inside the strip is a precise circuit, and the LED chips are wired in groups. You can only cut at specific points the manufacturer designed for cutting.
Cut in the wrong spot = broken circuit = the rest of the strip won’t light.
Cut into the copper foil = short circuit or overheating = flickering or burnt-out chips.
Force a cut where there isn’t one = no way to wire it = the whole strip is ruined.
Think of it like this: the strip is a team of little battery groups. You can only split the team at the marked cut points. Everywhere else is off-limits. Cut there, and you’ve ruined the team.
Find the mark, make a clean cut
01 Spot the cut point
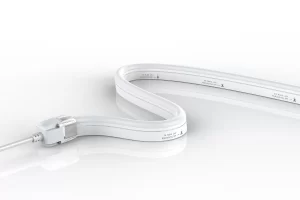
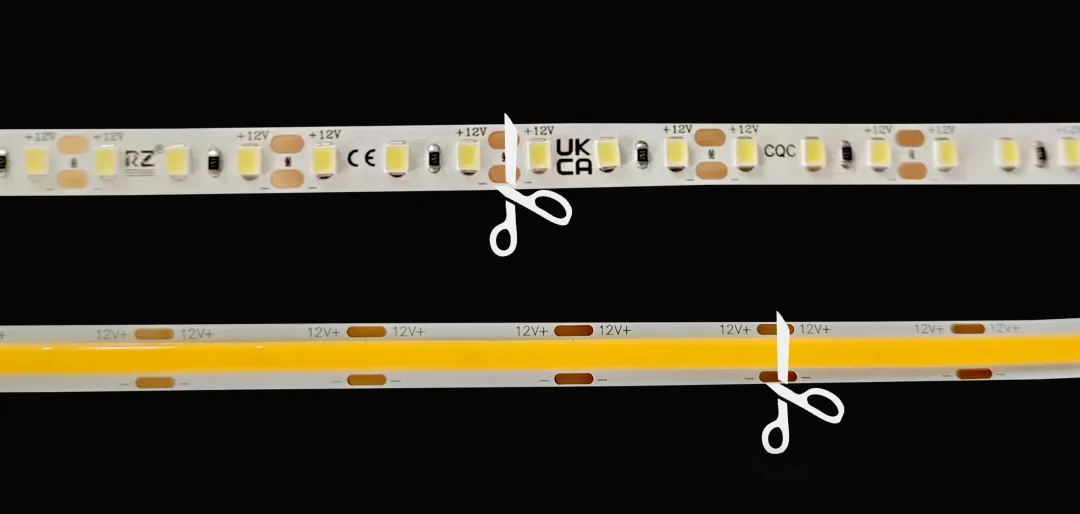
Whether it’s a standard LED strip or a COB strip, the cuttable spots are marked clearly:
Look for scissor icons, dashed lines, or thin vertical lines. Those are the only official cut points.
Golden rule: cut only on the marked line. Never cut through the LED chips or copper wiring.
02 Cutting without mistakes
- Power off first. Cutting a live strip risks short circuits and burnt lights.
- Measure the installation length, and leave a little slack. Cut it too short, and you’ve ruined it.
- Line up with the cut mark. Use sharp scissors and make a clean, vertical cut. Straight, not slanted.
- Check the cut. The copper foil shouldn’t be torn, and the LED chips shouldn’t be damaged. A clean, flat edge means you did it right.
03 Waterproof strips: don’t skip resealing
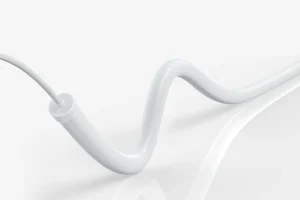
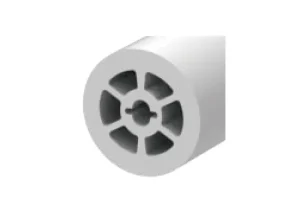
Waterproof strips have an outer silicone sleeve. Cutting them breaks the seal at that point. You must reseal the cut end with waterproof adhesive or an end cap. Otherwise, moisture gets in, blackens the strip, burns it out, and destroys the waterproofing.
What if the strip is too short?
Cutting is the easy part. Extending and connecting is where things get tricky. A bad connection can cause dark spots, voltage drop, and burnout later. Here are two reliable ways to extend a strip.
Method 1: Connector clips
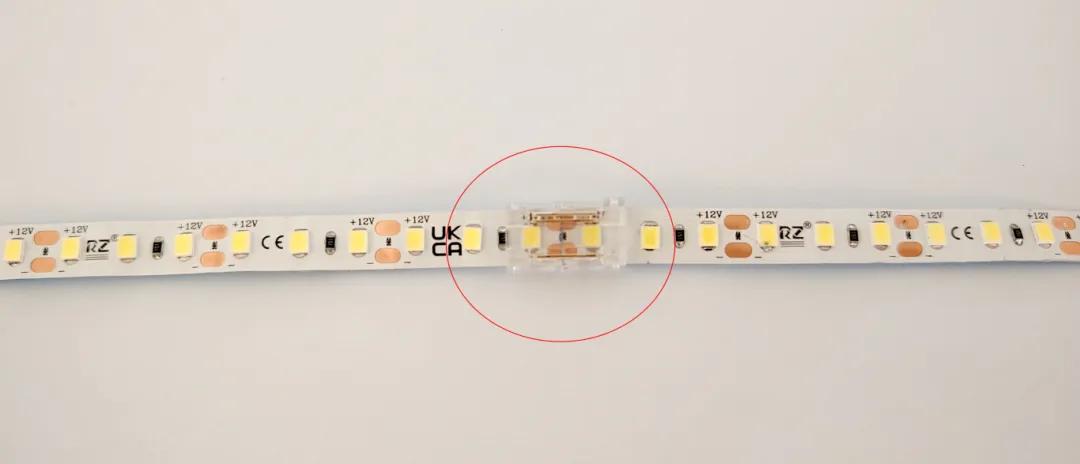
No soldering, no tools. Just buy the connector clip that matches your strip model, align the positive and negative terminals, and snap it on. Takes seconds.
✅ Pros: Easy, plug-and-play. Great for beginners or temporary changes.
Crucial reminder: positive and negative matter. Match + to + and – to –. Reverse them, and the light may not turn on—or it may burn out.
Method 2: Soldering
Solder the copper foil contacts of the two strip sections together. This is the most stable, durable extension method.
✅ Pros: Seamless, secure connection. No loose parts, no dark spots.
Common mistakes when extending LED strips
People complain about strips being bright at the front but dim at the back, the tail going dark, flickering, or overheating. Often, it’s not a defective strip. It’s one of these traps.
Misconception 1: You can connect strips in series forever.
Wrong. A single 12V strip should not exceed 5 meters. A single 24V strip should not exceed 10 meters. However you connect them, too many in series causes serious voltage drop. The farther along the strip, the dimmer it gets, and heat buildup speeds up light decay.
Misconception 2: You can extend multiple sections and feed power from only one end.
Wrong. Power a long connected strip from one end, and voltage delivery suffers. The far end will be dim. Better: for long runs, use a parallel connection and feed power from both ends. That gives even brightness with no dark spots.
Misconception 3: You can connect strips however you want.
Wrong. Ignore the markings, reverse polarity, or misalign the connection, and you’ll get anything from no light and flickering to completely fried LED chips. Every connection must follow the rule: positive to positive, negative to negative.
Final thought
The look and lifespan of an LED strip live in the details. Cutting and extending seem simple—but that’s exactly where people mess up. Get the basics right, and installation becomes a whole lot less stressful.
Website:
Social Media: